


Up until a few days back, UAG can be deployed using two different methods. One is the traditional method of deployment using OVA appliance deployment and another one is by using PowerShell. A few days back as I was checking out the flings website, I came across a new tool named unified access gateway deployment utility, which introduced us to a third way of deploying the UAG appliance over a vSphere environment in a much cleaner and better way. Let’s check out the steps on how to deploy UAG using unified access gateway deployment utility.
Prerequisites
- Download Unified access Gateway deployment utility from the flings website: https://flings.vmware.com/unified-access-gateway-deployment-utility
- Download the UAG appliance from the my.vmware.com
- Base platform for the deployment
- Windows 10
- macOS 10.14+
Steps to deploy the UAG using Unified Access Gateway Deployment Utility
Extract the downloaded zip file and run the exe file if you are executing from the windows client machine/dmg file in case you’re executing from the mac machine. Deployment utility needs to be installed before we proceed ahead in the client machine.
Launch the deployment utility which has been installed, which should be looking like VCSA appliance installation window
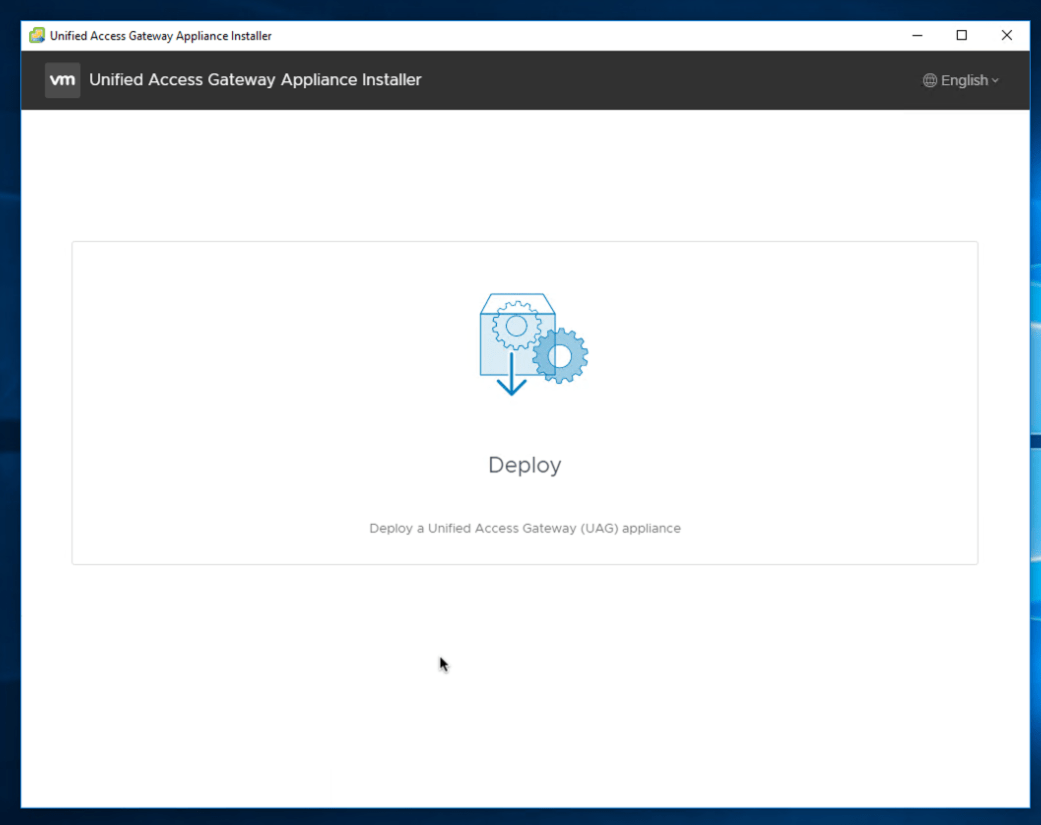
Click the deploy, Which should open up the wizard for deploying the UAG appliance.
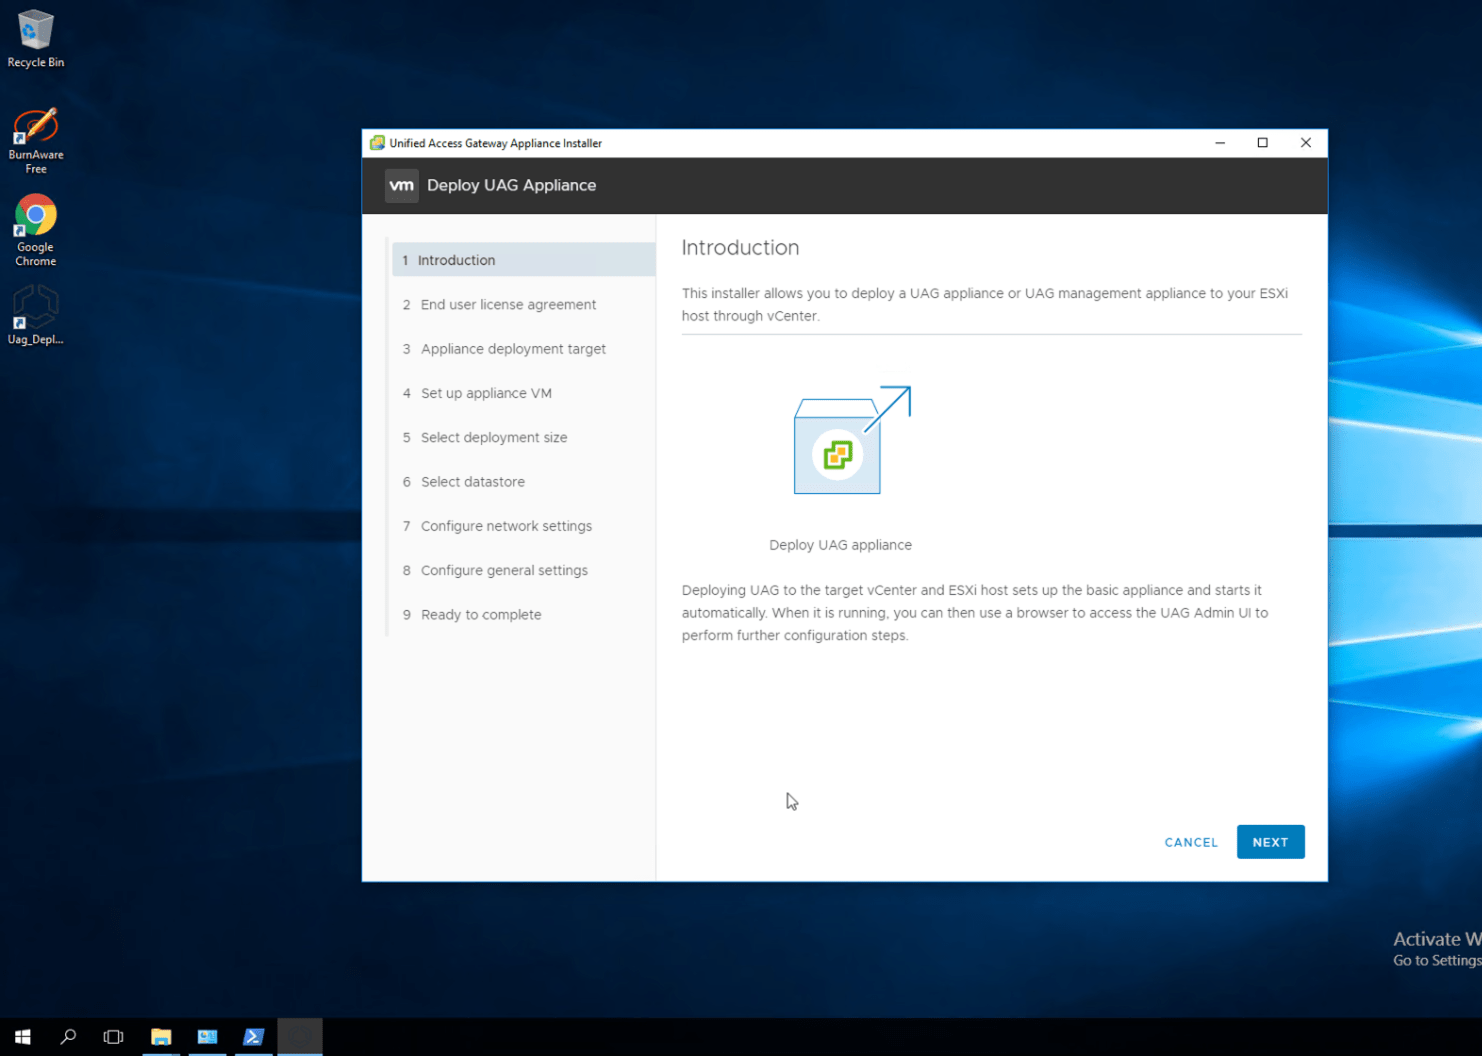
Click the Next button from the introduction screen
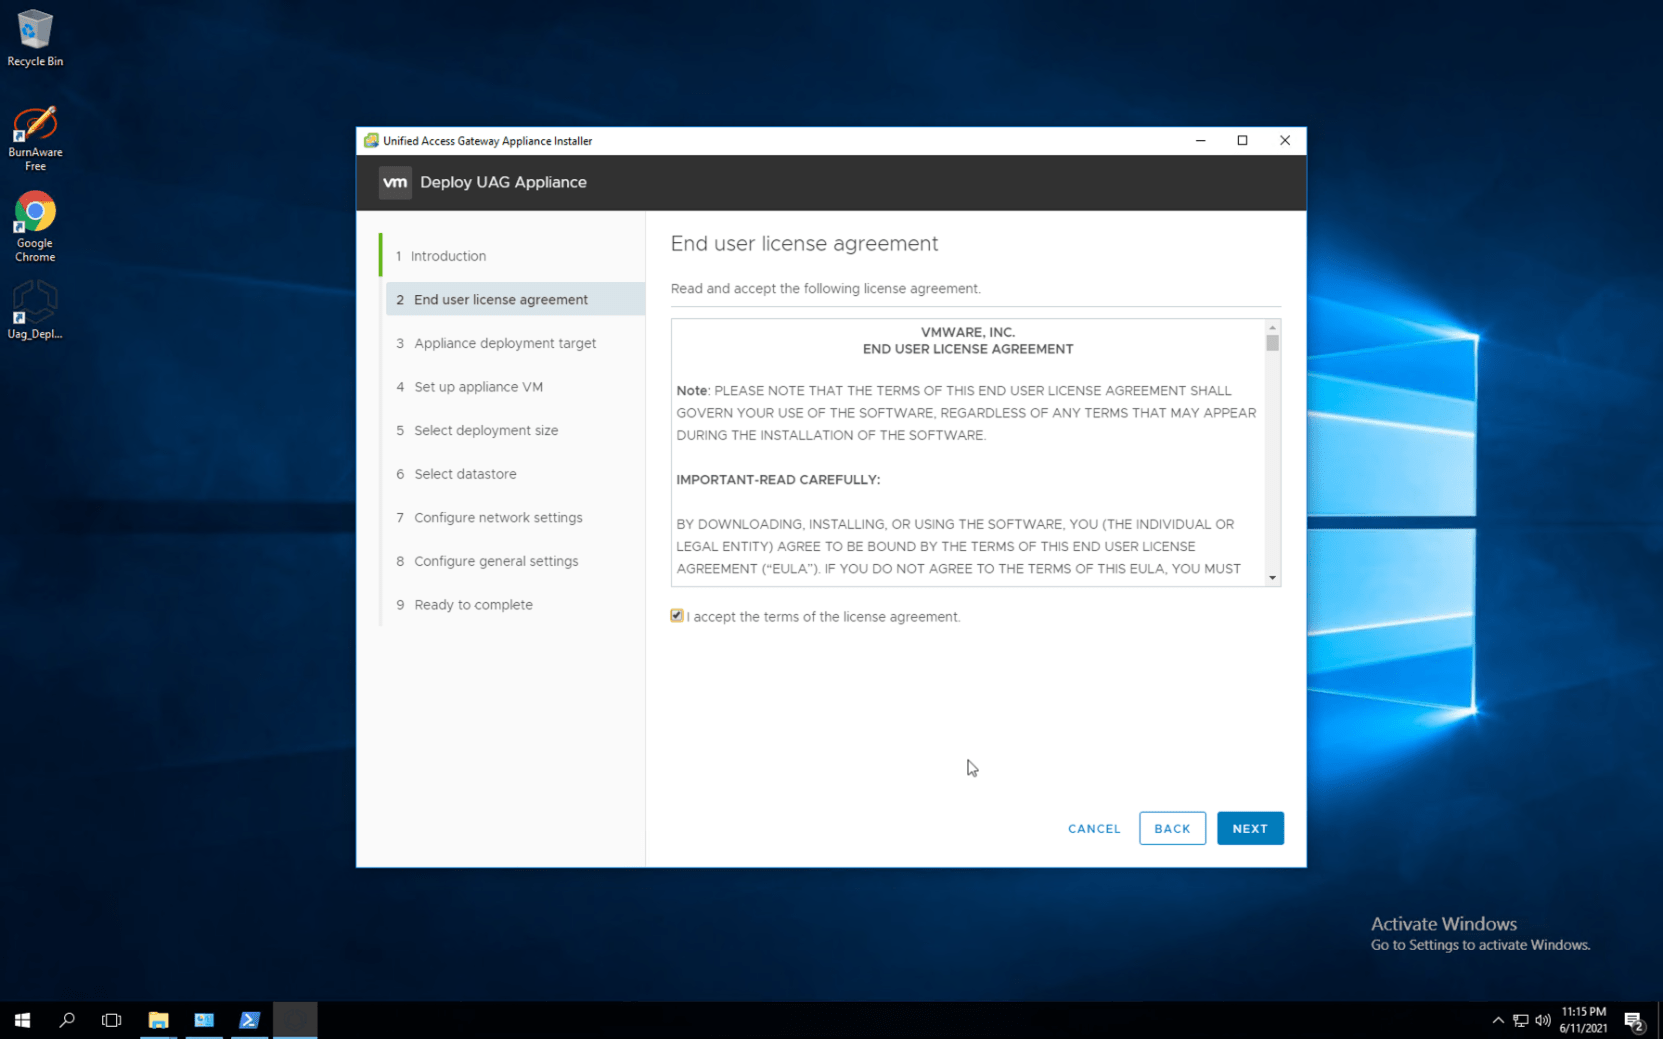
Accept the EULA by selecting the checkbox as displayed above and click Next to proceed ahead
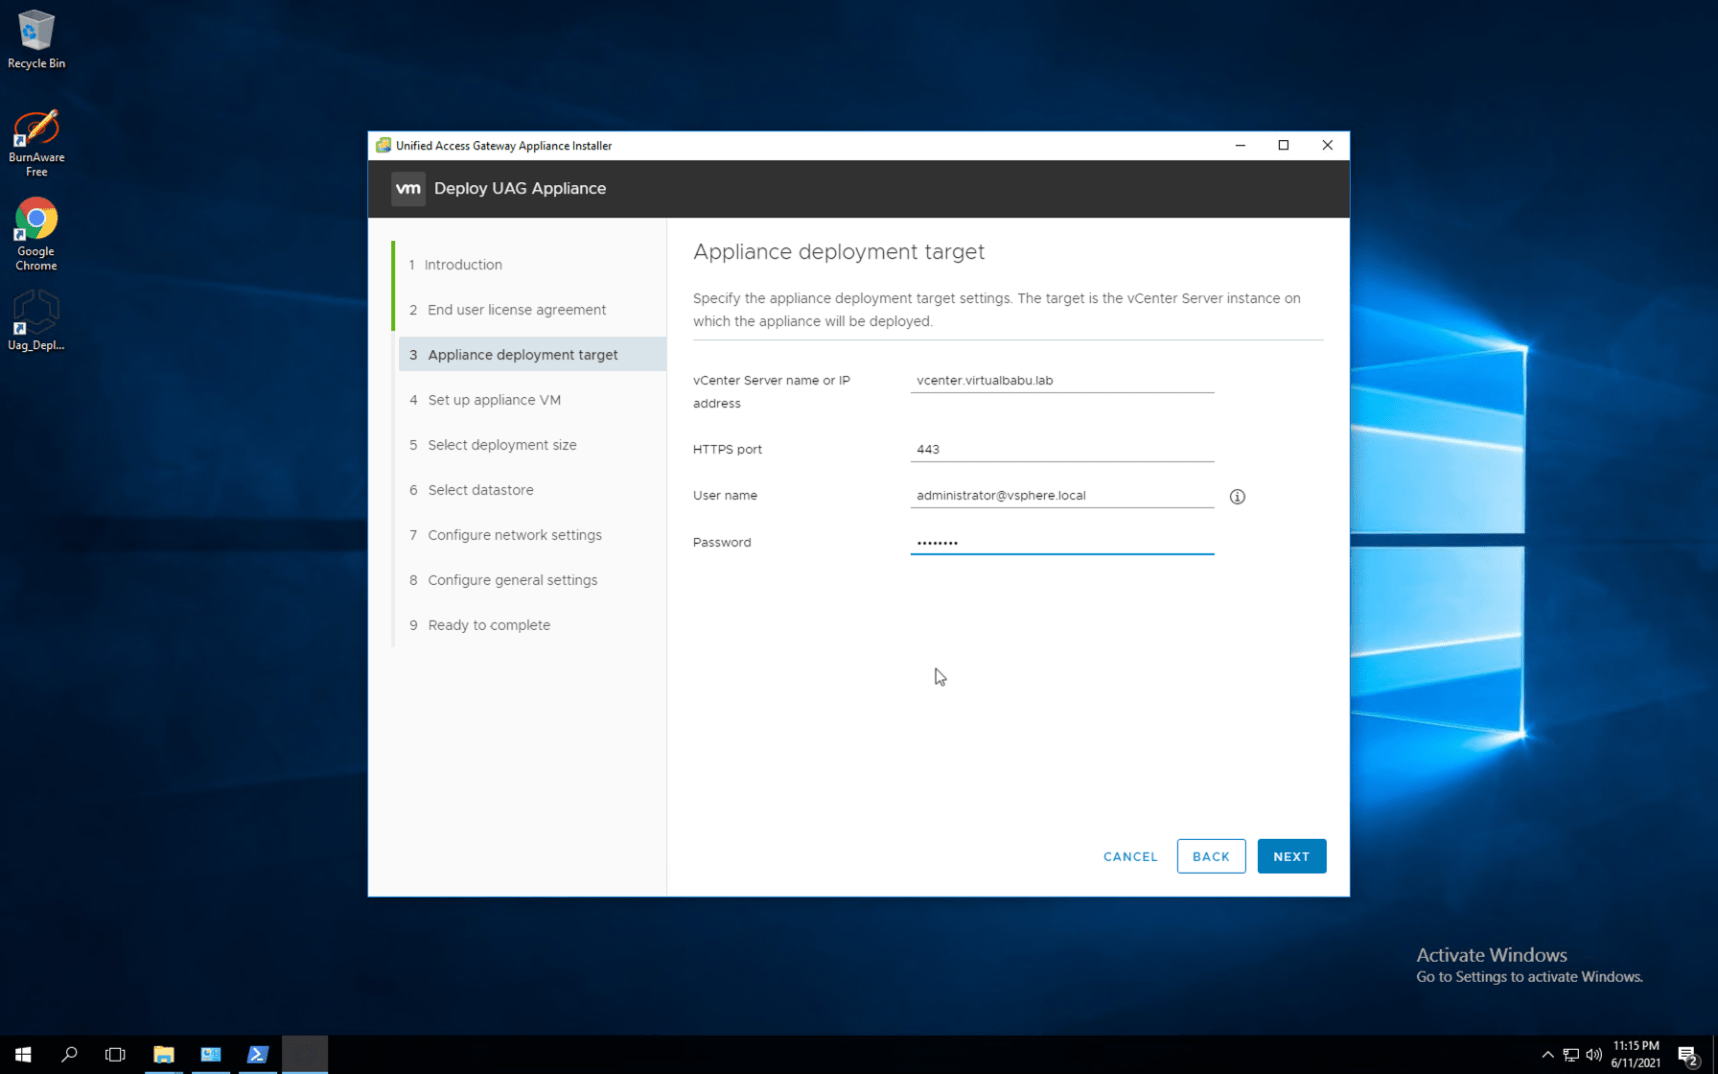
In the appliance deployment target window, we need to enter the details of the target vcenter server where the UAG appliance need to be deployed
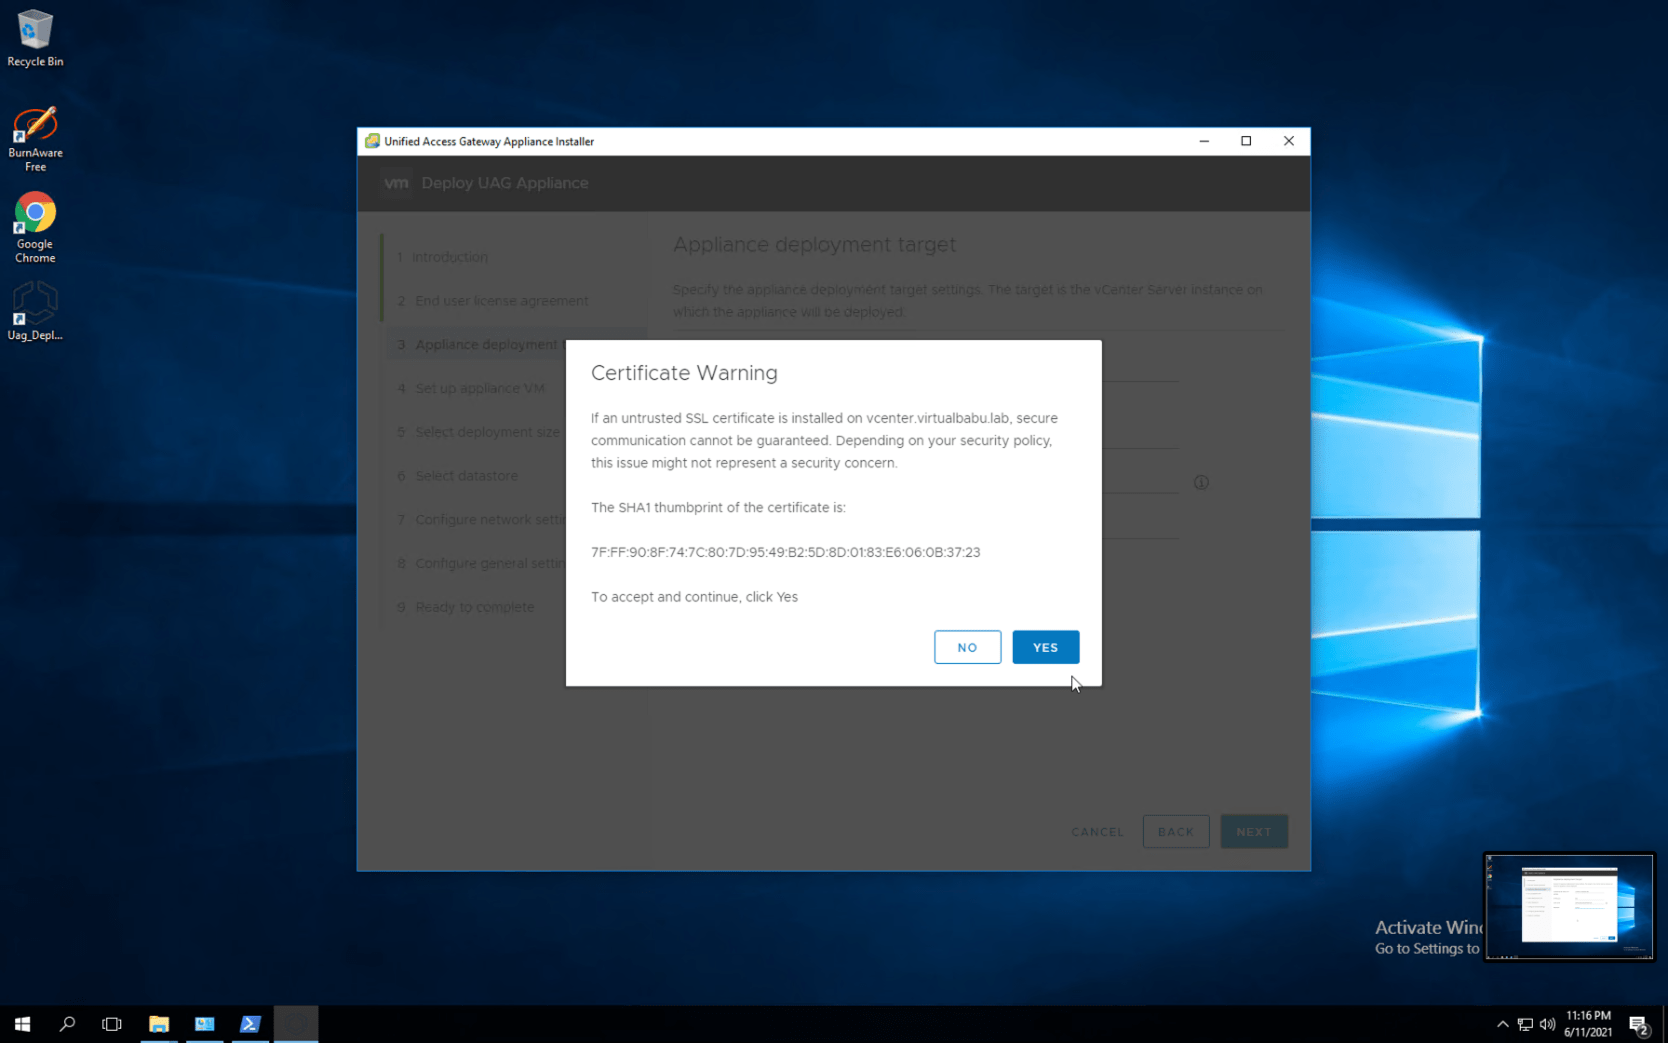
Accept the warning message by clicking yes and proceed ahead by selecting the Next button
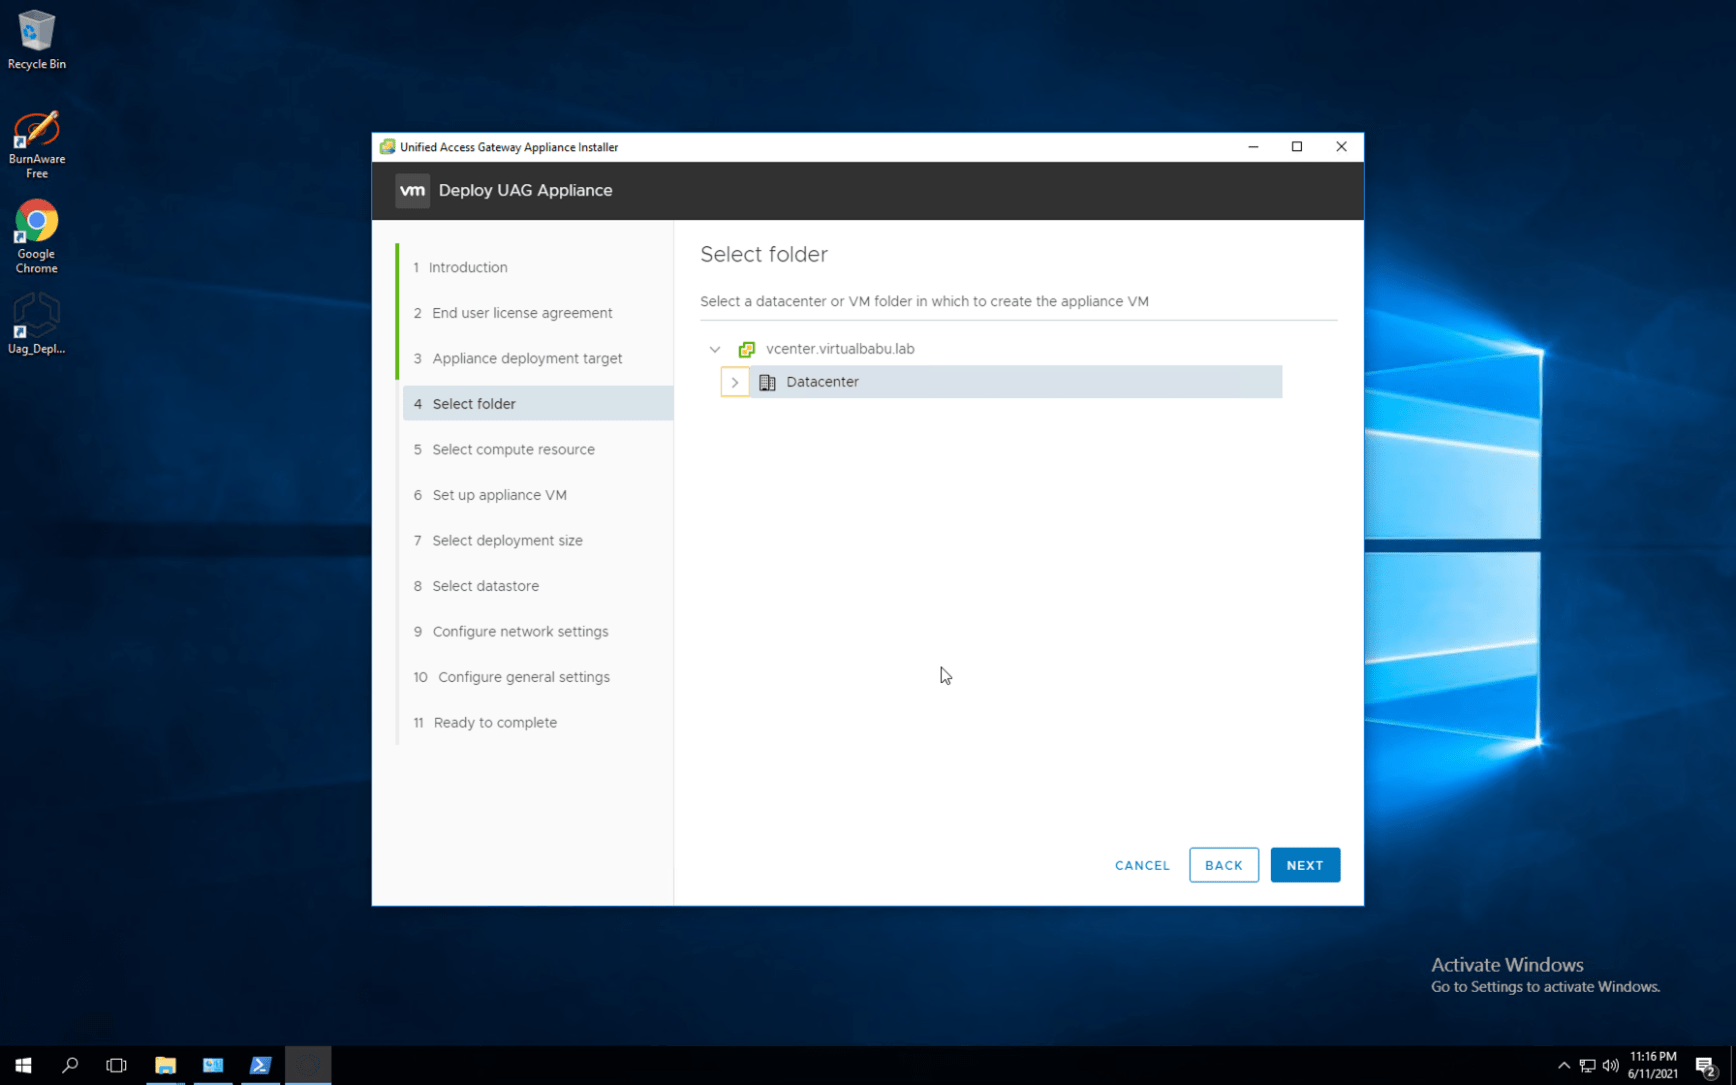
Select the folder where the appliance needs to be deployed and click the Next Button
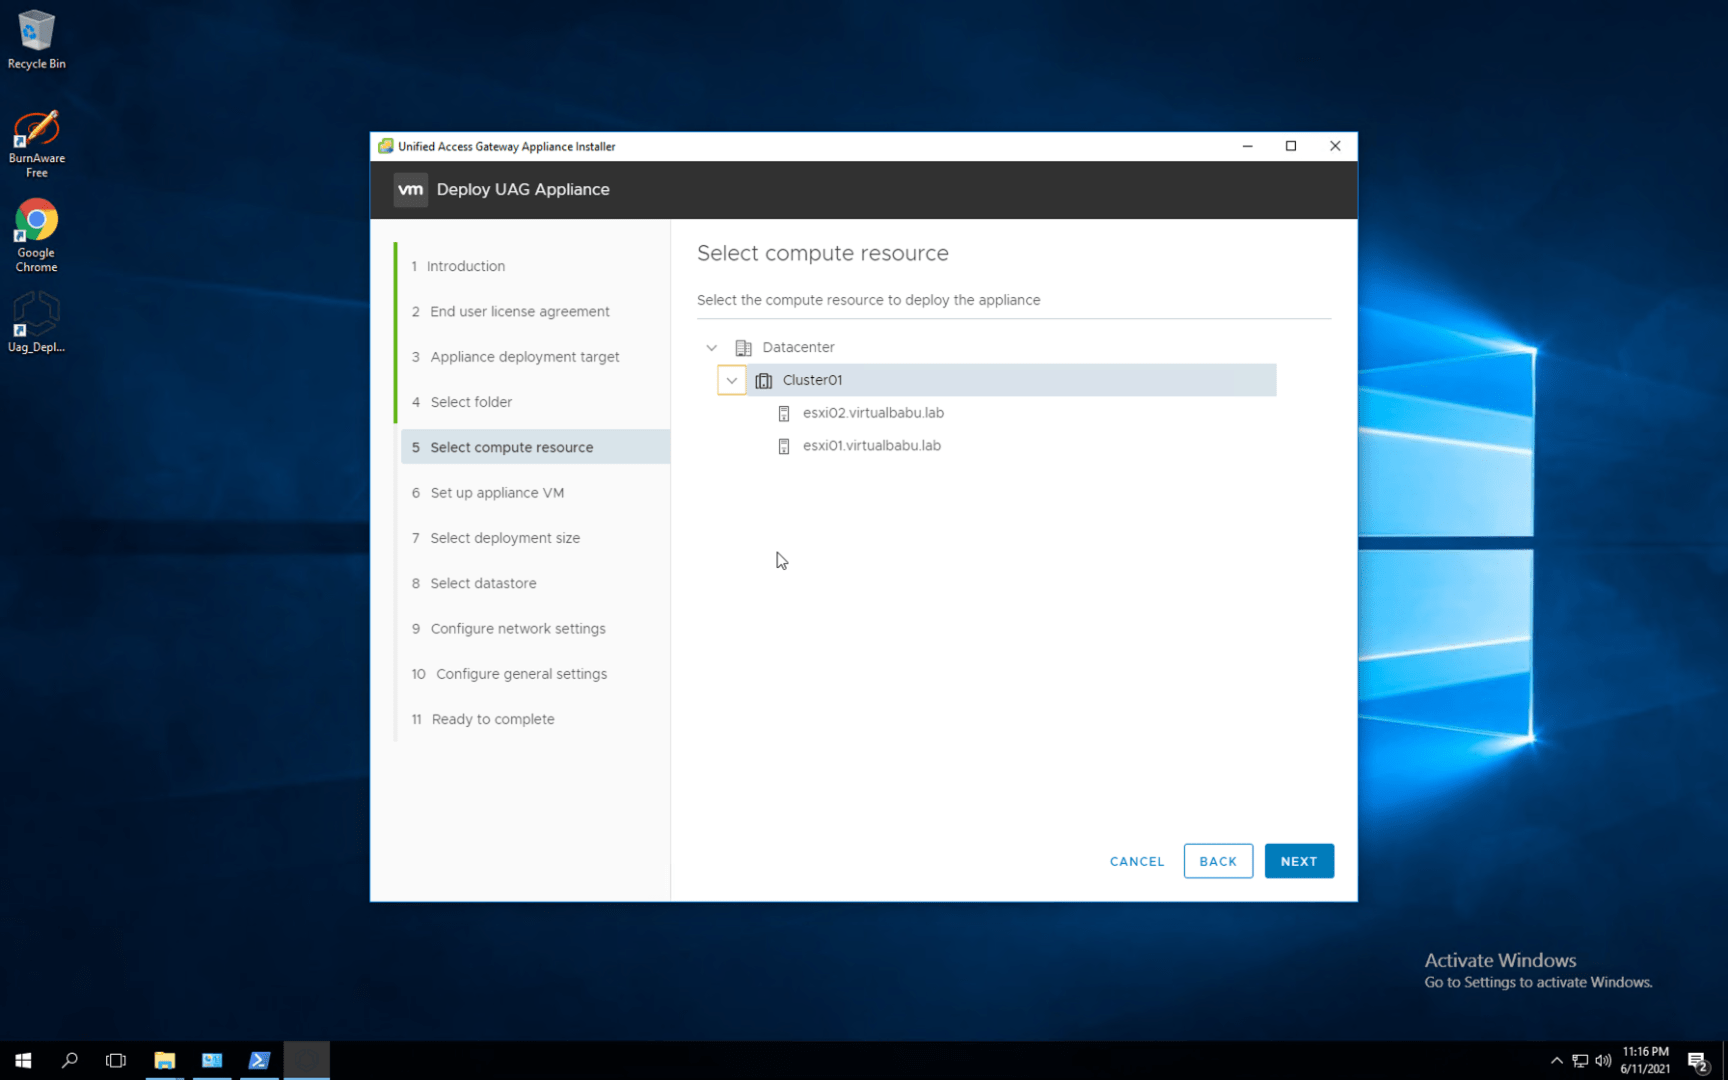
Select the Compute resource and Click Next
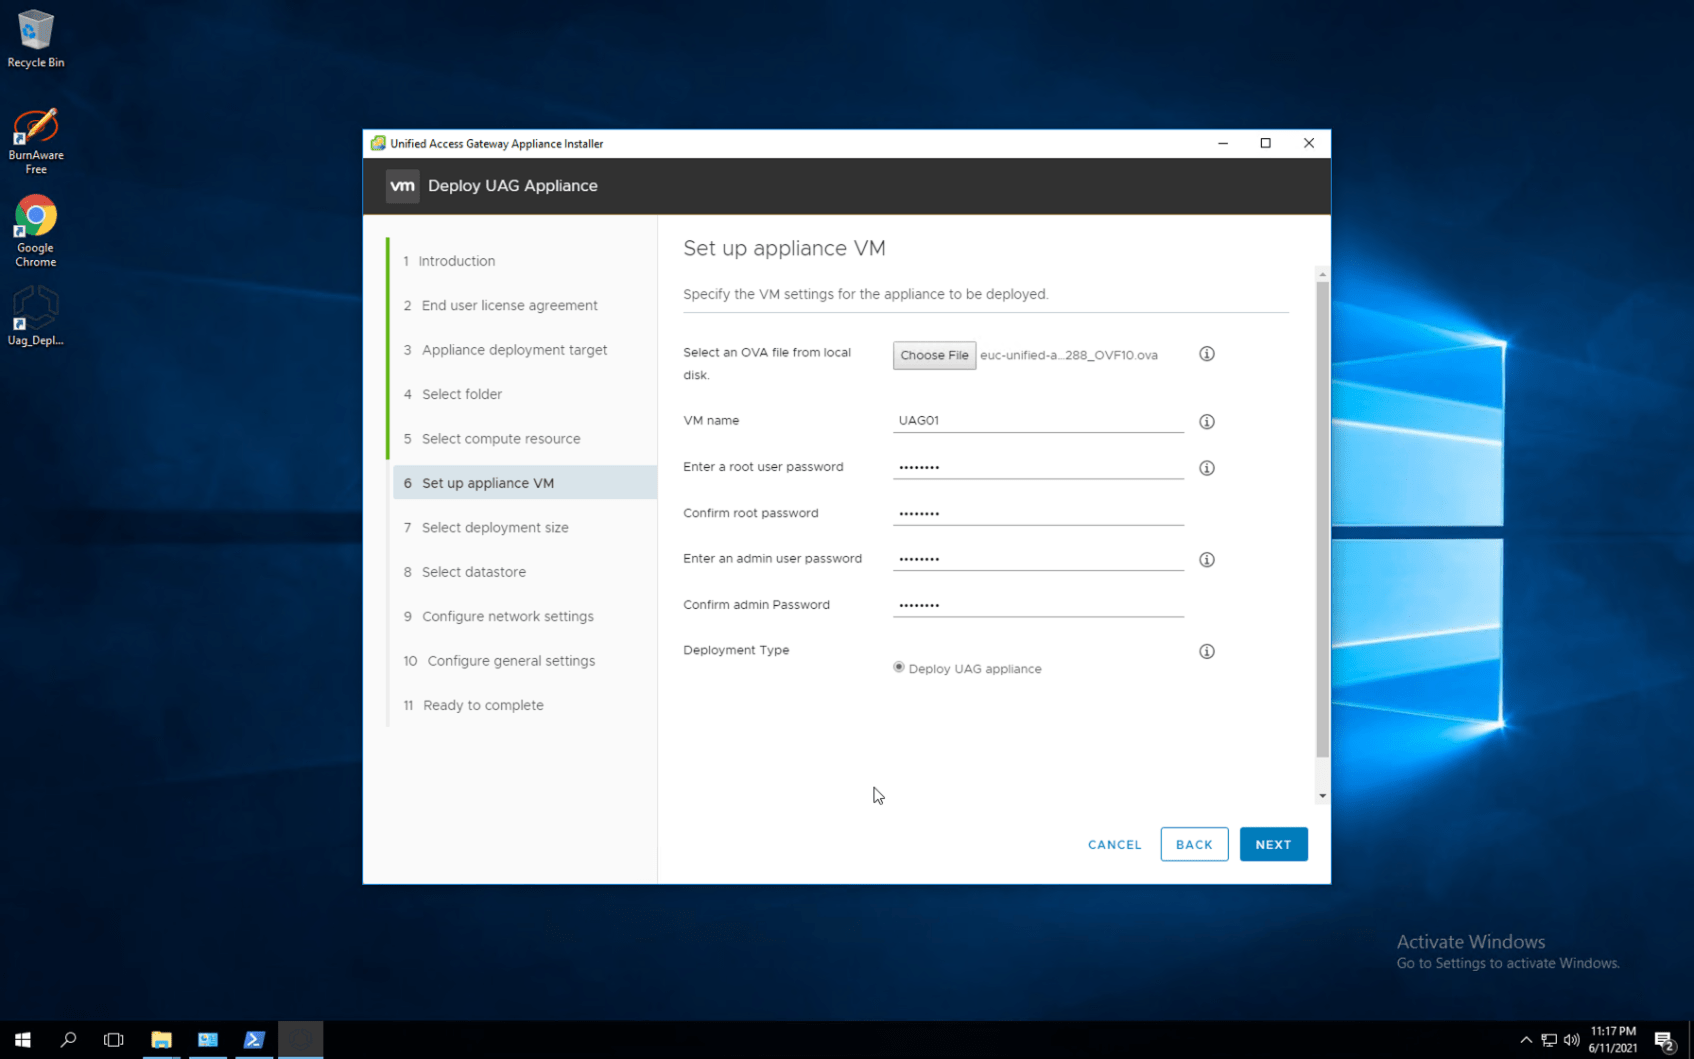
On the Setup appliance page, Select the OVA image which has been downloaded on the disk, Followed by setting the VM name, Root password, Admin password, and Deployment type, and click next
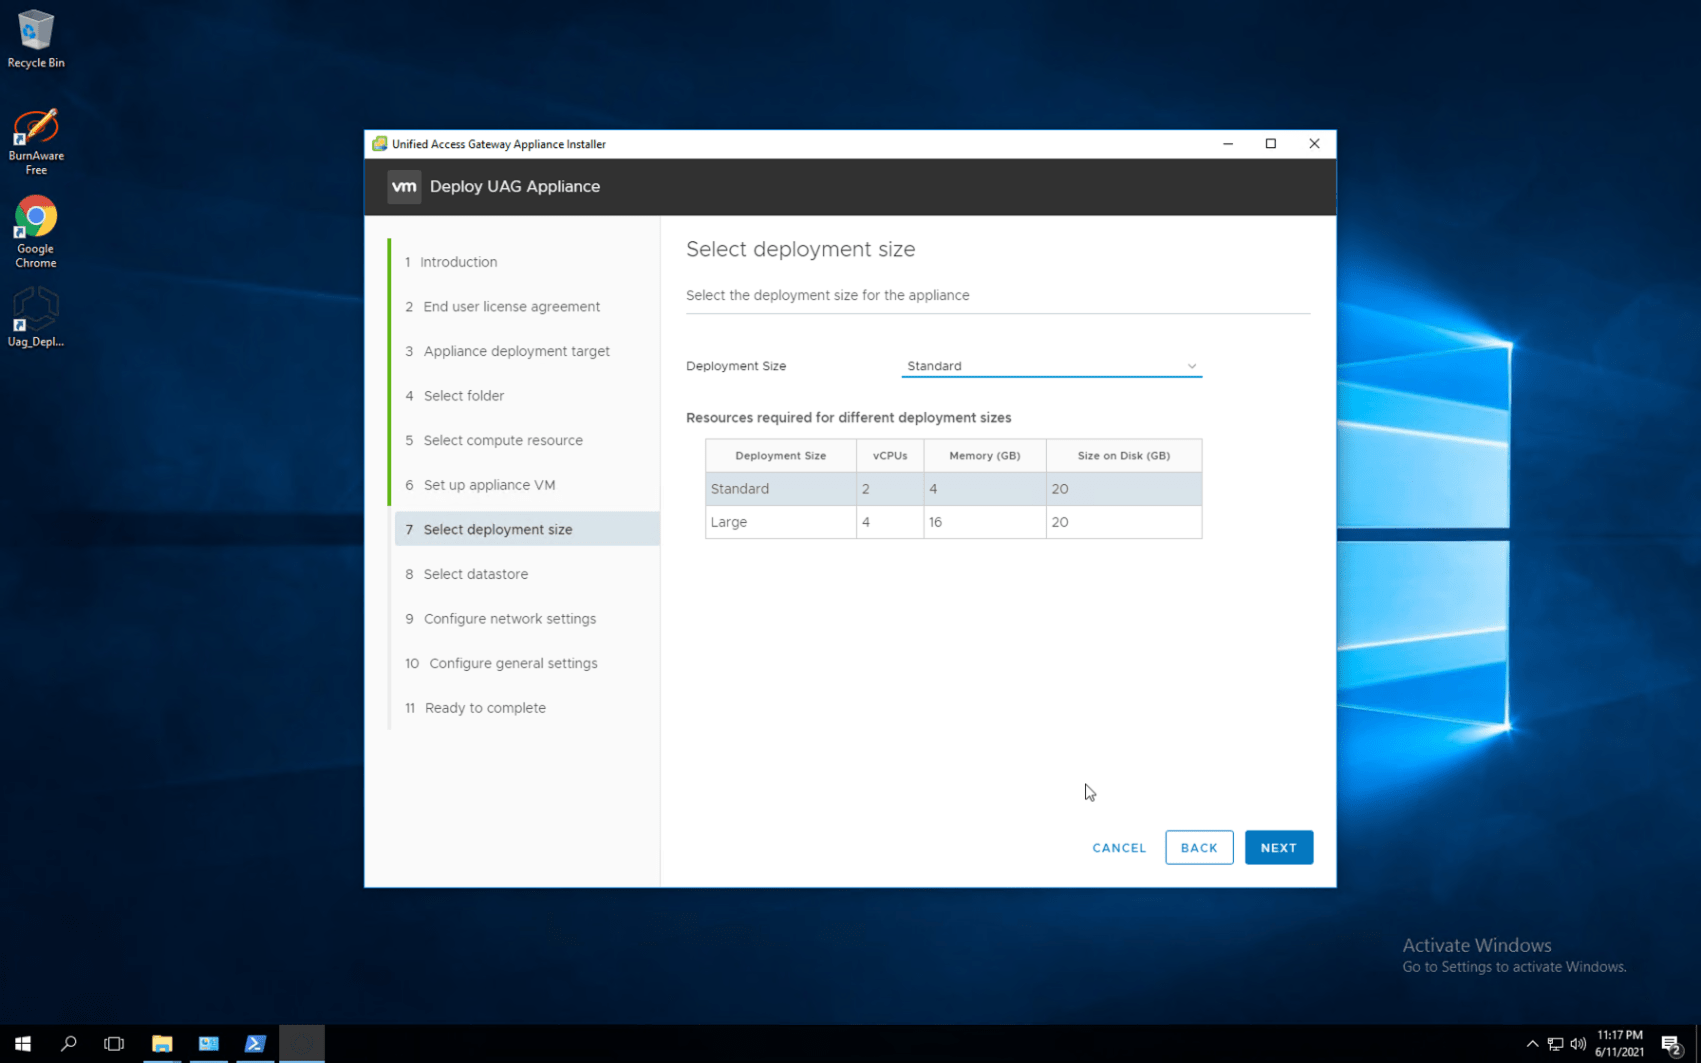
Deployment can be done in two different sizes which are as displayed above, we select standard deployment and proceed ahead by selecting the Next
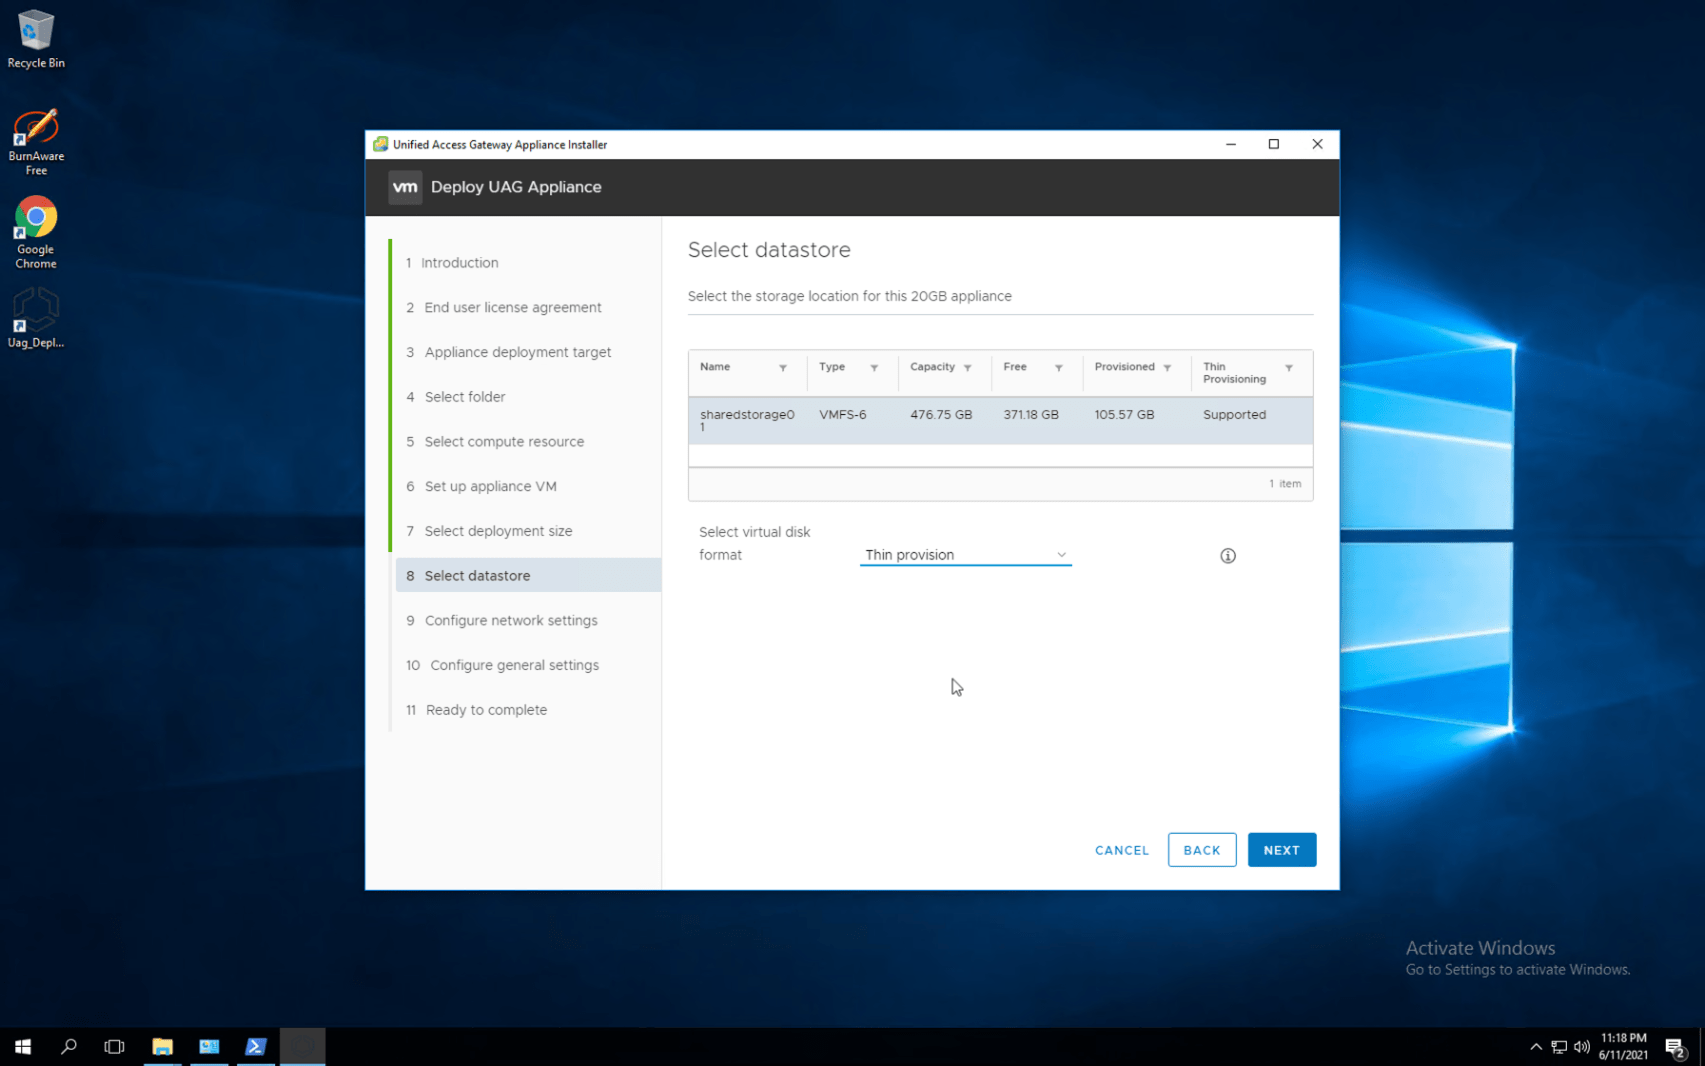
Select the Datastore where the appliance needs to be deployed and we have an option to choose virtual disk format (Thin and Thick Provision), Select next to proceed ahead
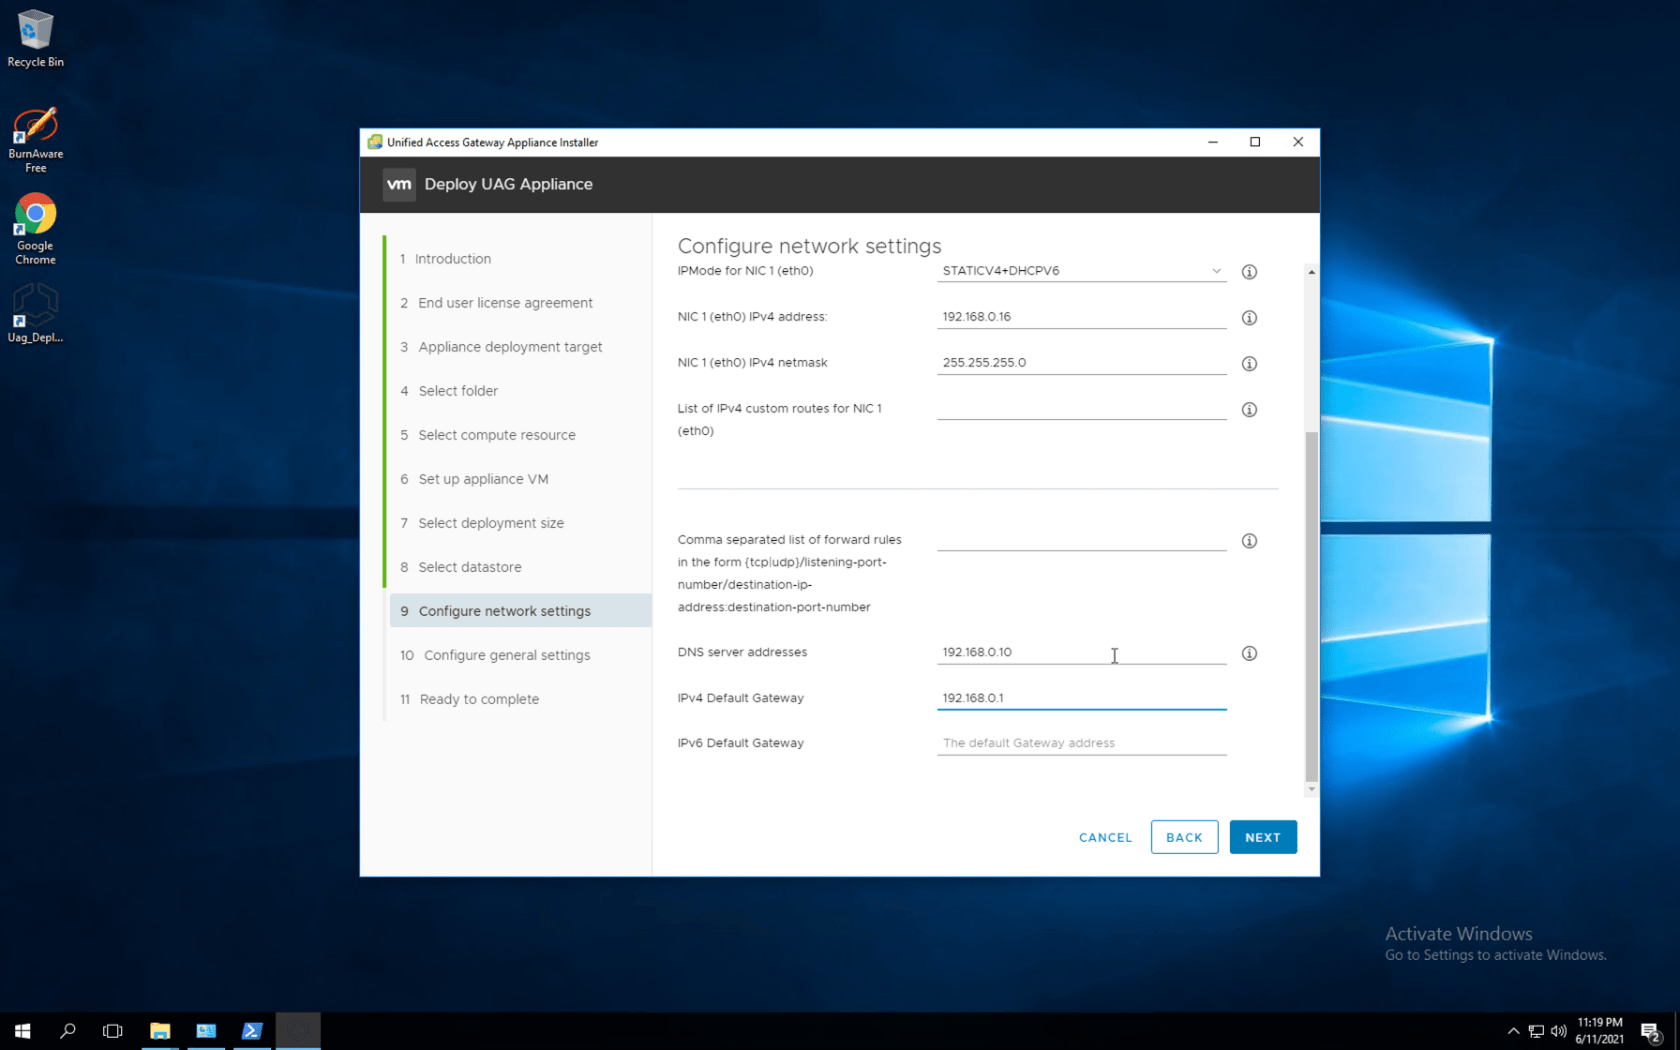
Under configure network settings. Enter the virtual network settings, IP address information, etc. This is much better arranged in the deployment utility than in the standard OVA deployment where the network settings are separated all over the place
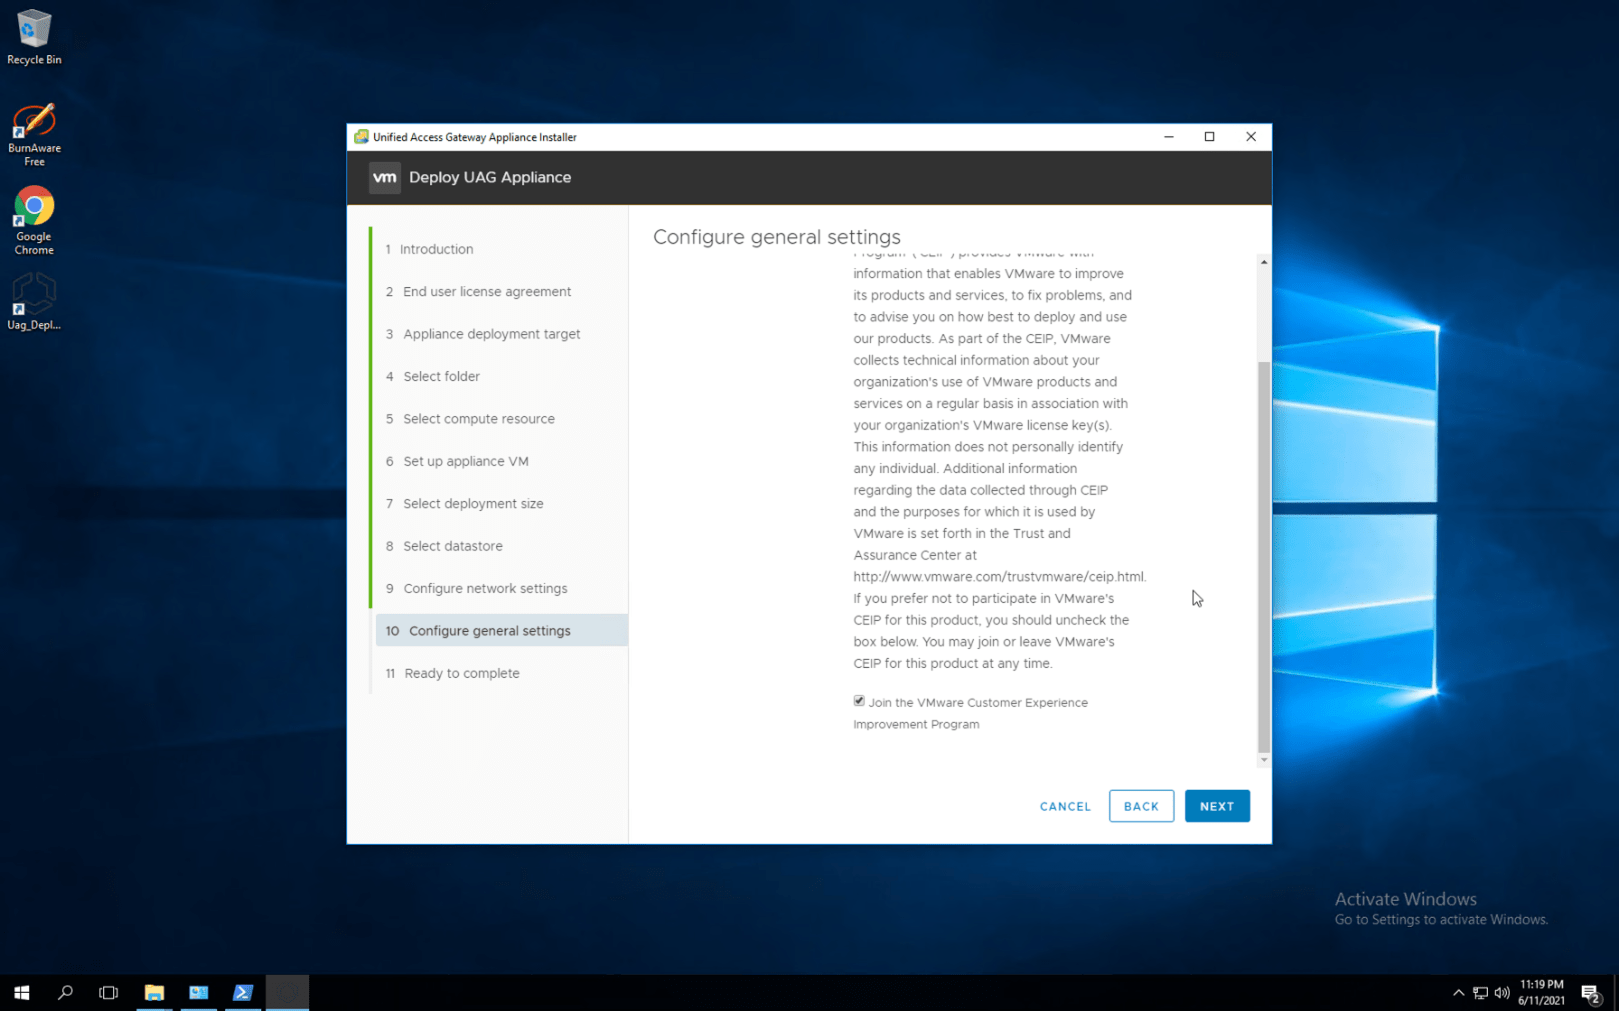
Select the checkbox join the VMware CEIP and proceed ahead by selecting the next button
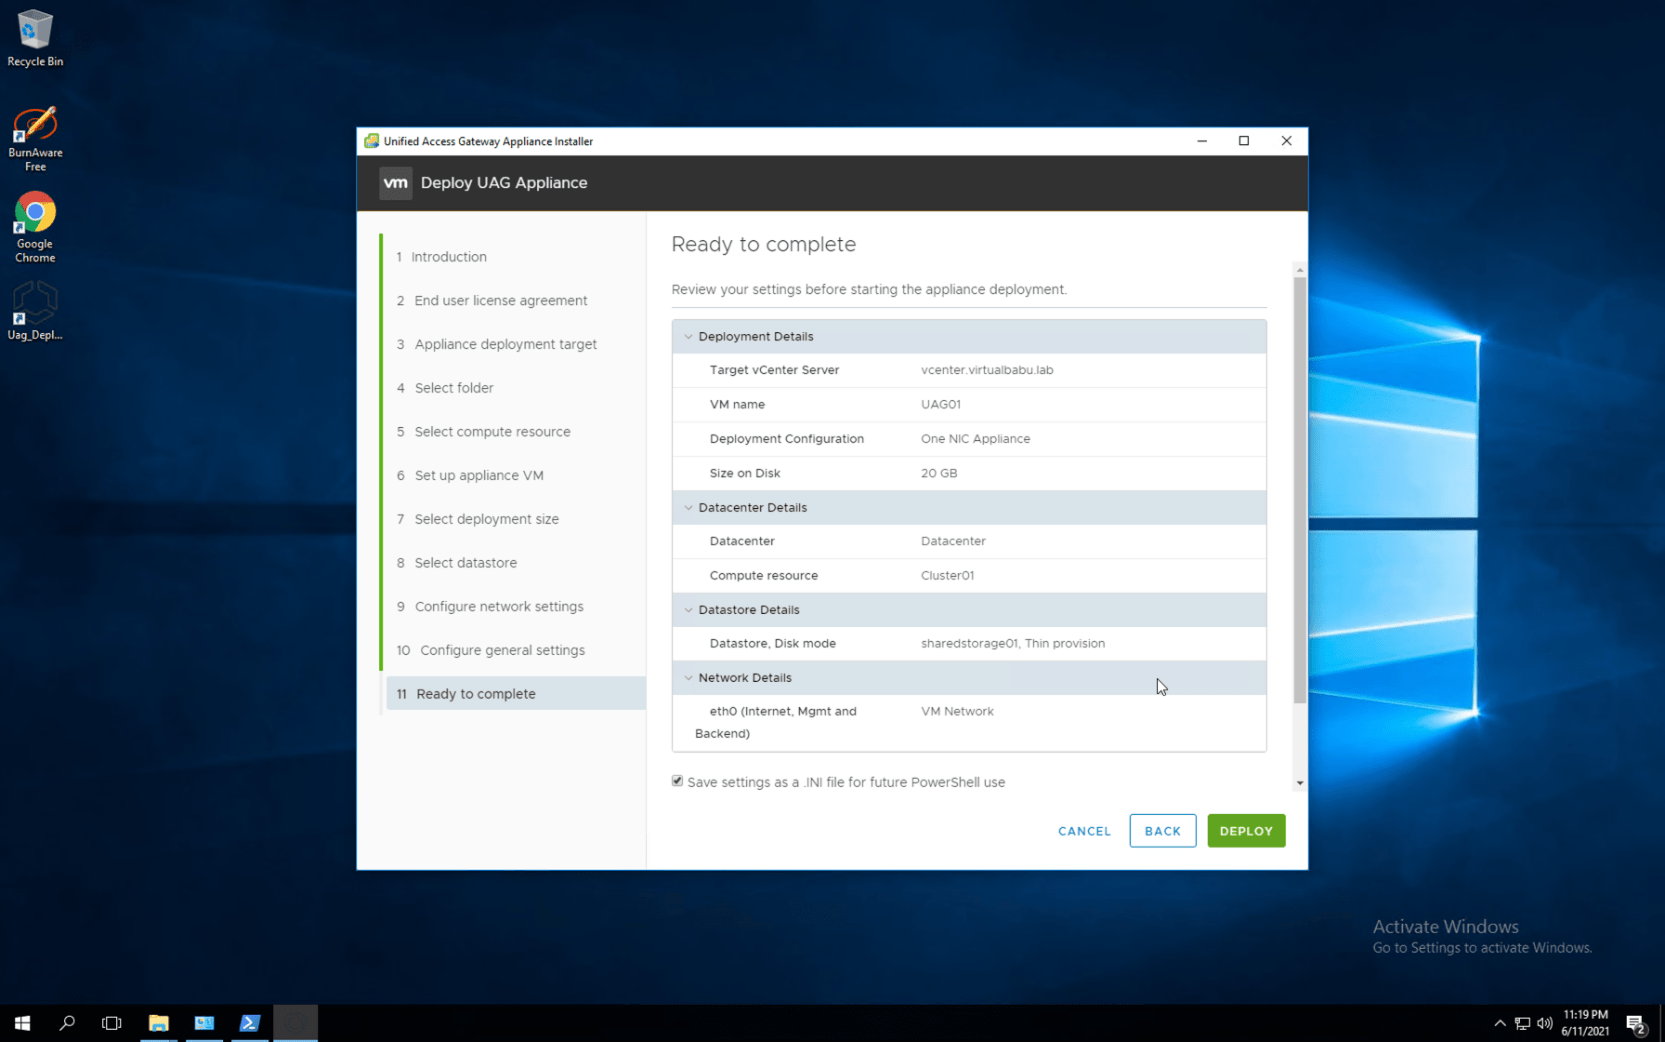
Review the settings before we begin to click the deploy button for Installation. You can choose to Save settings as an INI file for future PowerShell use
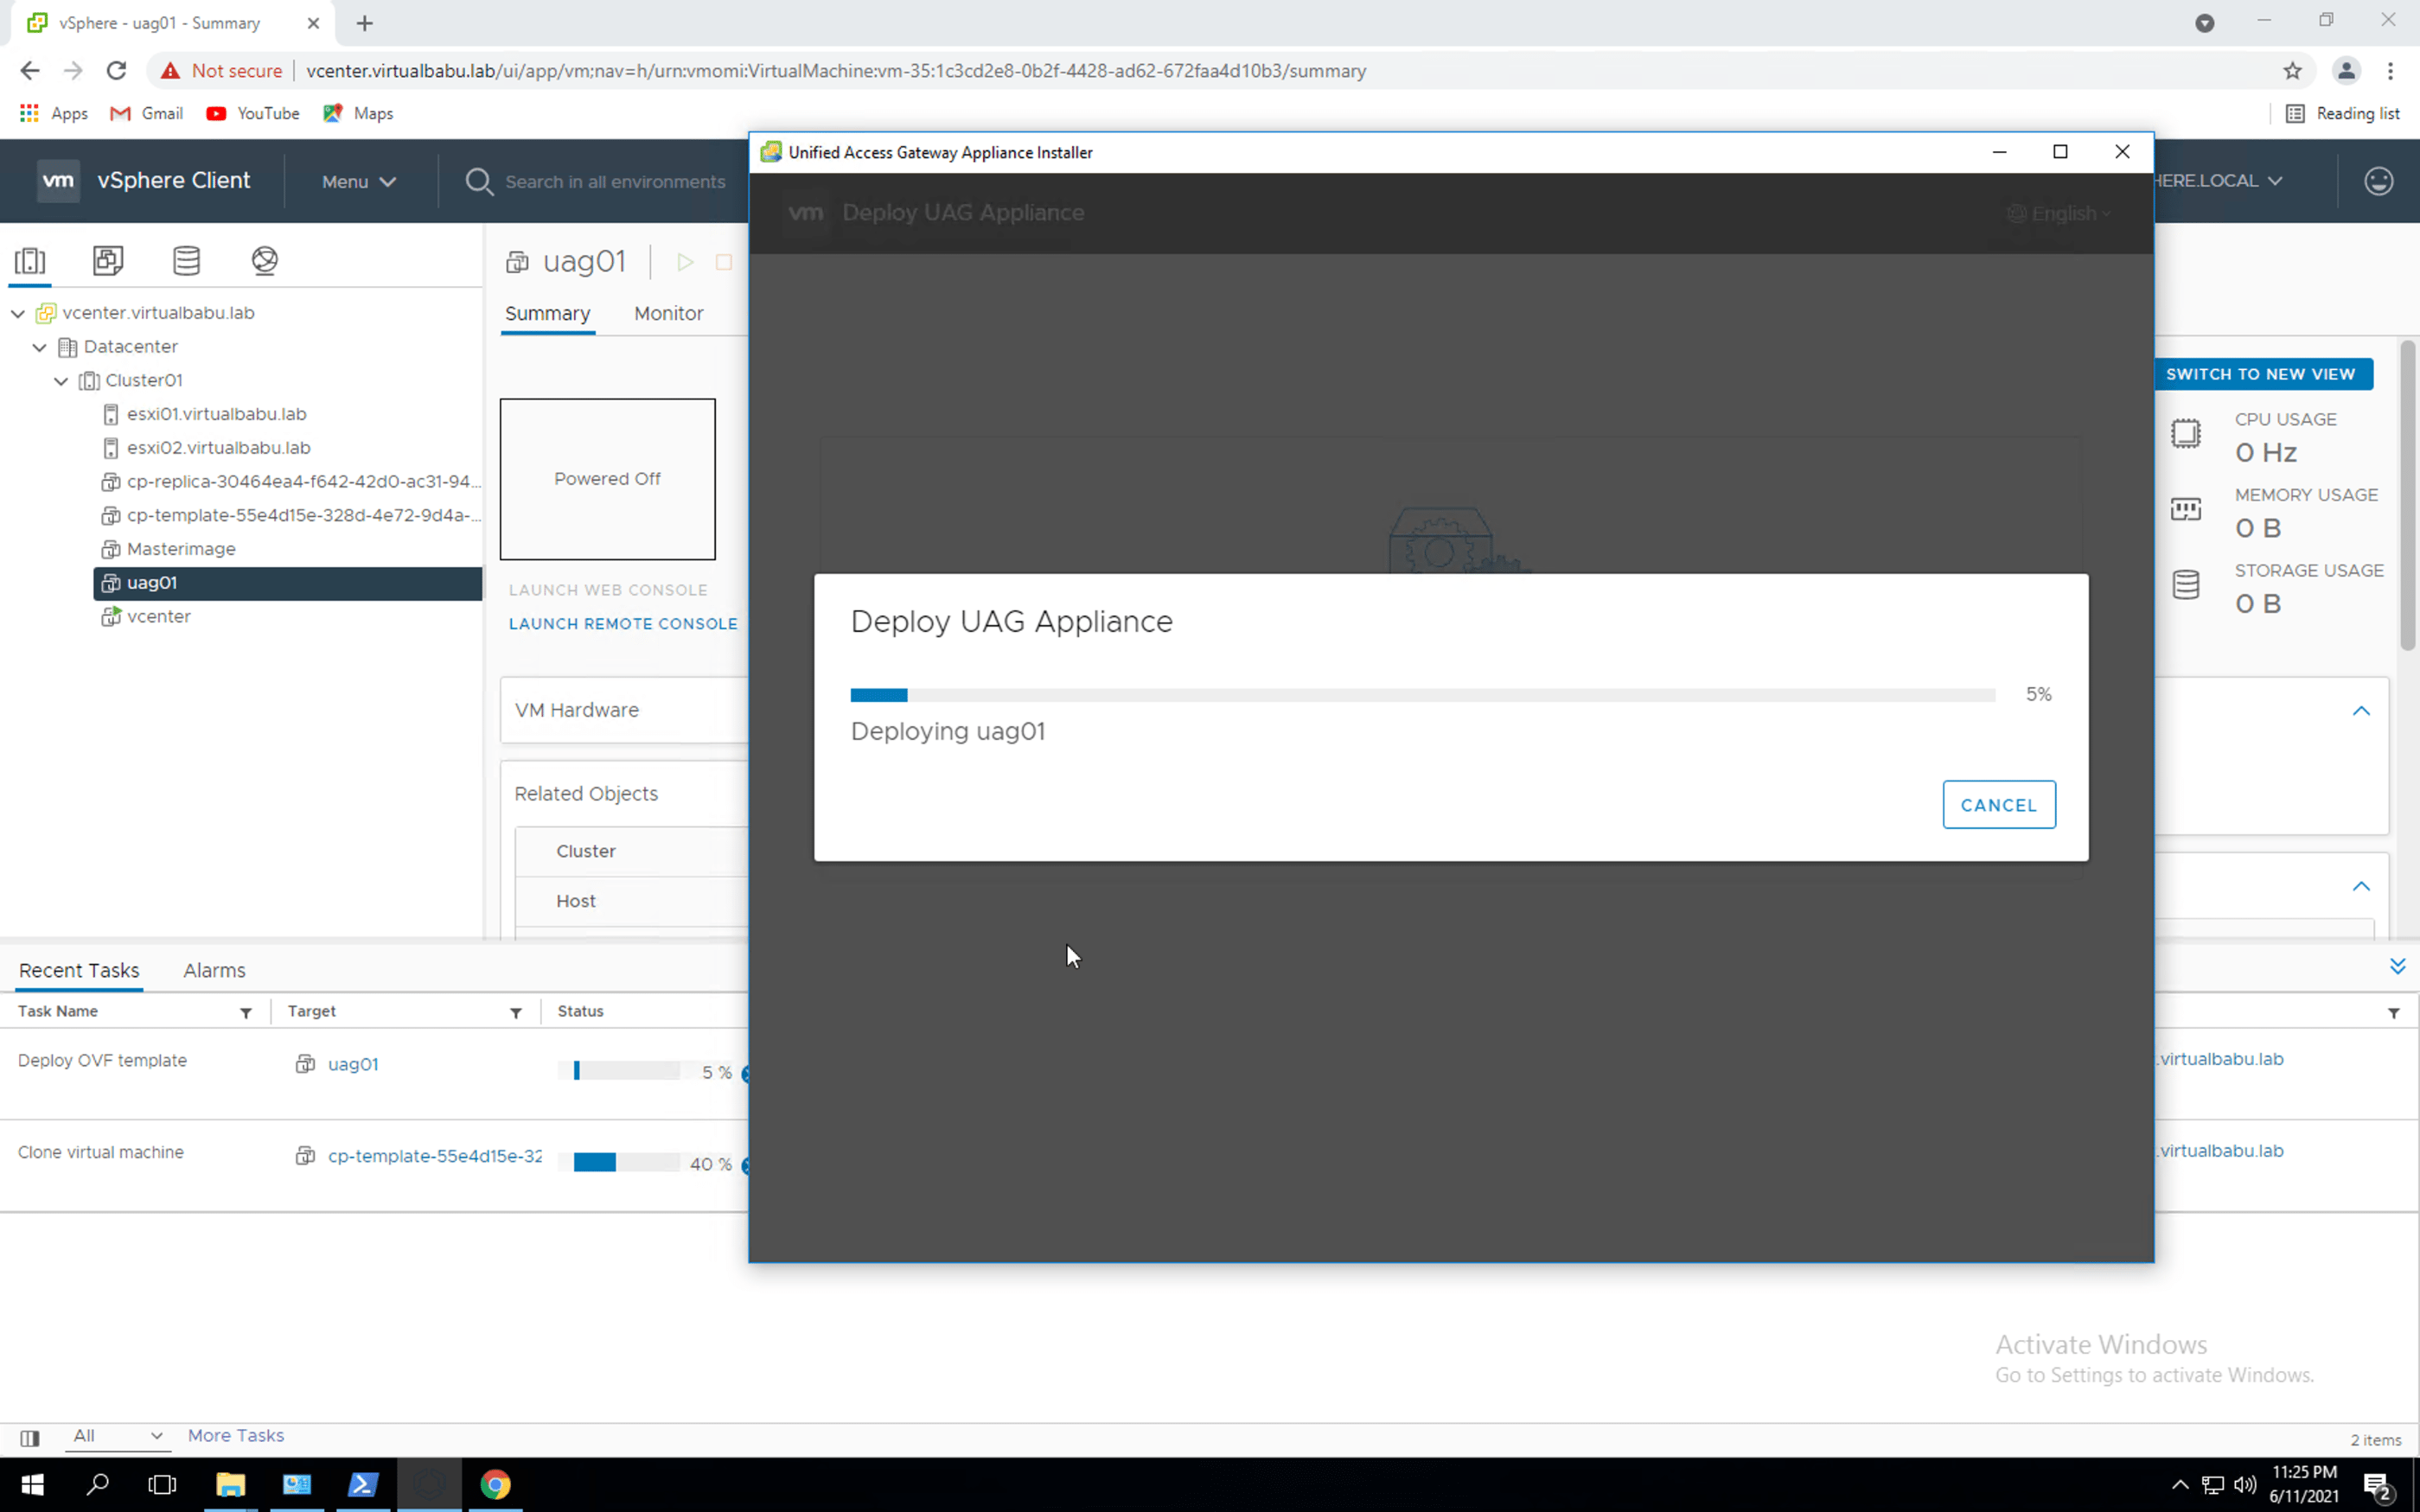
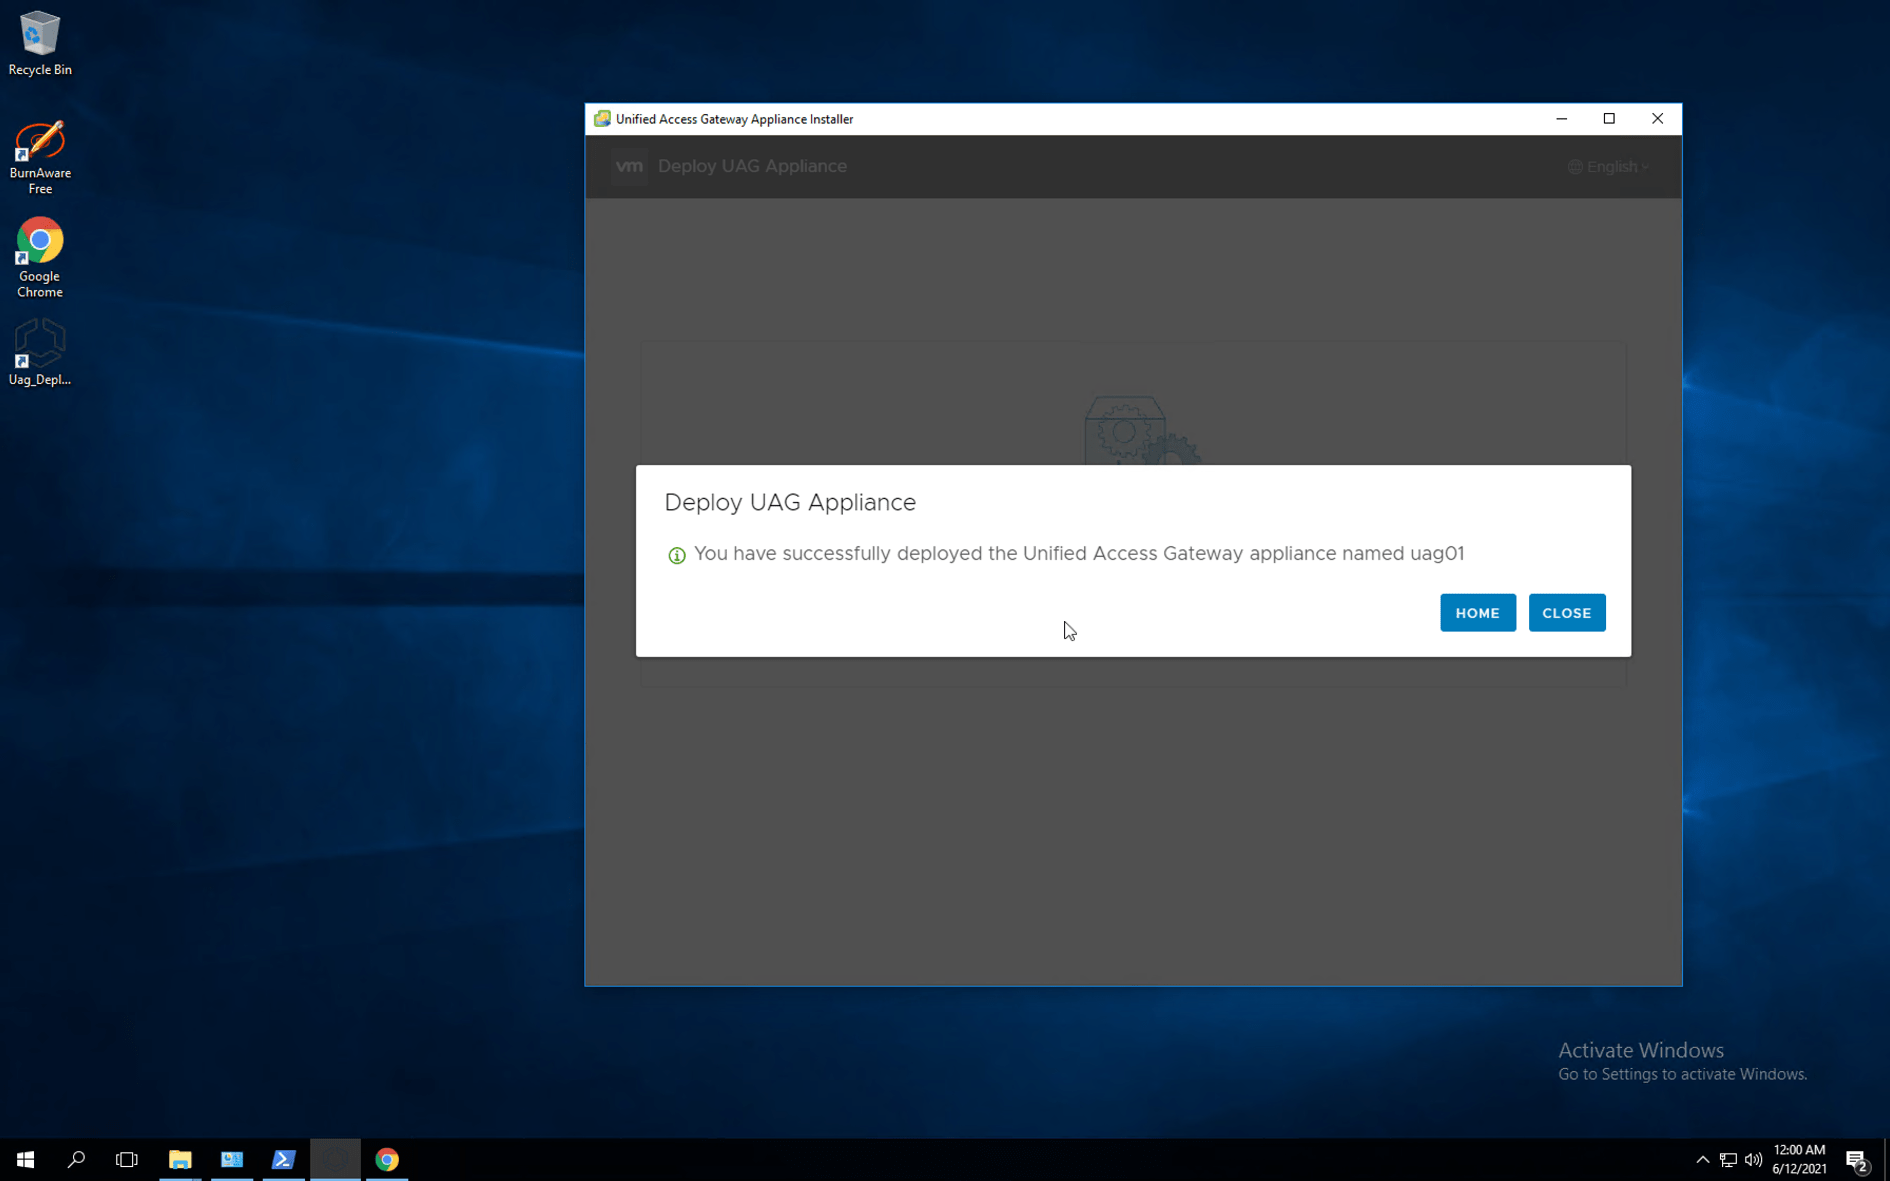
Deployment of the UAG appliance begins, as shown above, you can simultaneously monitor the same in the VCenter Window as well.
For Queries related to the above post, you can ask over the below comment box