What Is a Synology NAS?
Synology NAS is a multi-functional Network-Attached Storage server, serving as a file-sharing center within intranet. Moreover, it is specially designed for a variety of purposes, allowing users to perform the following tasks with the web-based Synology DiskStation Manager (DSM):
- Store and Share Files over the Internet
- Manage Files with Web-Based File Station
- Transfer Files via FTP
- Sync Files with Cloud Station
- Share Storage Capacity as iSCSI LUNs
- Back Up Files on Computer and Server
- Manage Personal Photos
- Host Websites
- Record Videos with IP Cameras
The Physical Setup: Fill, Plug In, Boot-up
Synology NAS DS920+ comes with a power cable, two Ethernet cable, drive mounting screws and a hot-swap drive bay trays, Before we take a look at the actual unit and how to fill it up, let’s talk about disk selection.
For an optimum NAS experience, I would recommend starting with new drives, in the largest size your budget will allow. For our purposes we will be using 2TB Seagate Iron-Wolf NAS Drives, which are specifically designed for NAS use where operation is projected to be around the clock in a tight space.
Note : Its highly recommended to use Synology’s easy to use drag-and-drop RAID calculator to help visualize how different drive combinations yield different amounts of usable space in case if we are contemplating the use of different size of disk in the NAS Station.
With the disks in place, we open up the disk bays and place the NAS drives in the disk bays, I do have 2 Cache SSD modules each of 400GB for better storage performance which need to place in the lower part of the Enclosure. Do the find the specification for Synology DS 920+ which we will be using it in our home lab:
CPU : Intel Celeron
SSD Cache : 400 GB
Hard Disk : 2 TB of 2 Disks (4 TB in total).
RAM : 8 GB
Getting Started : First Boot up Sequence
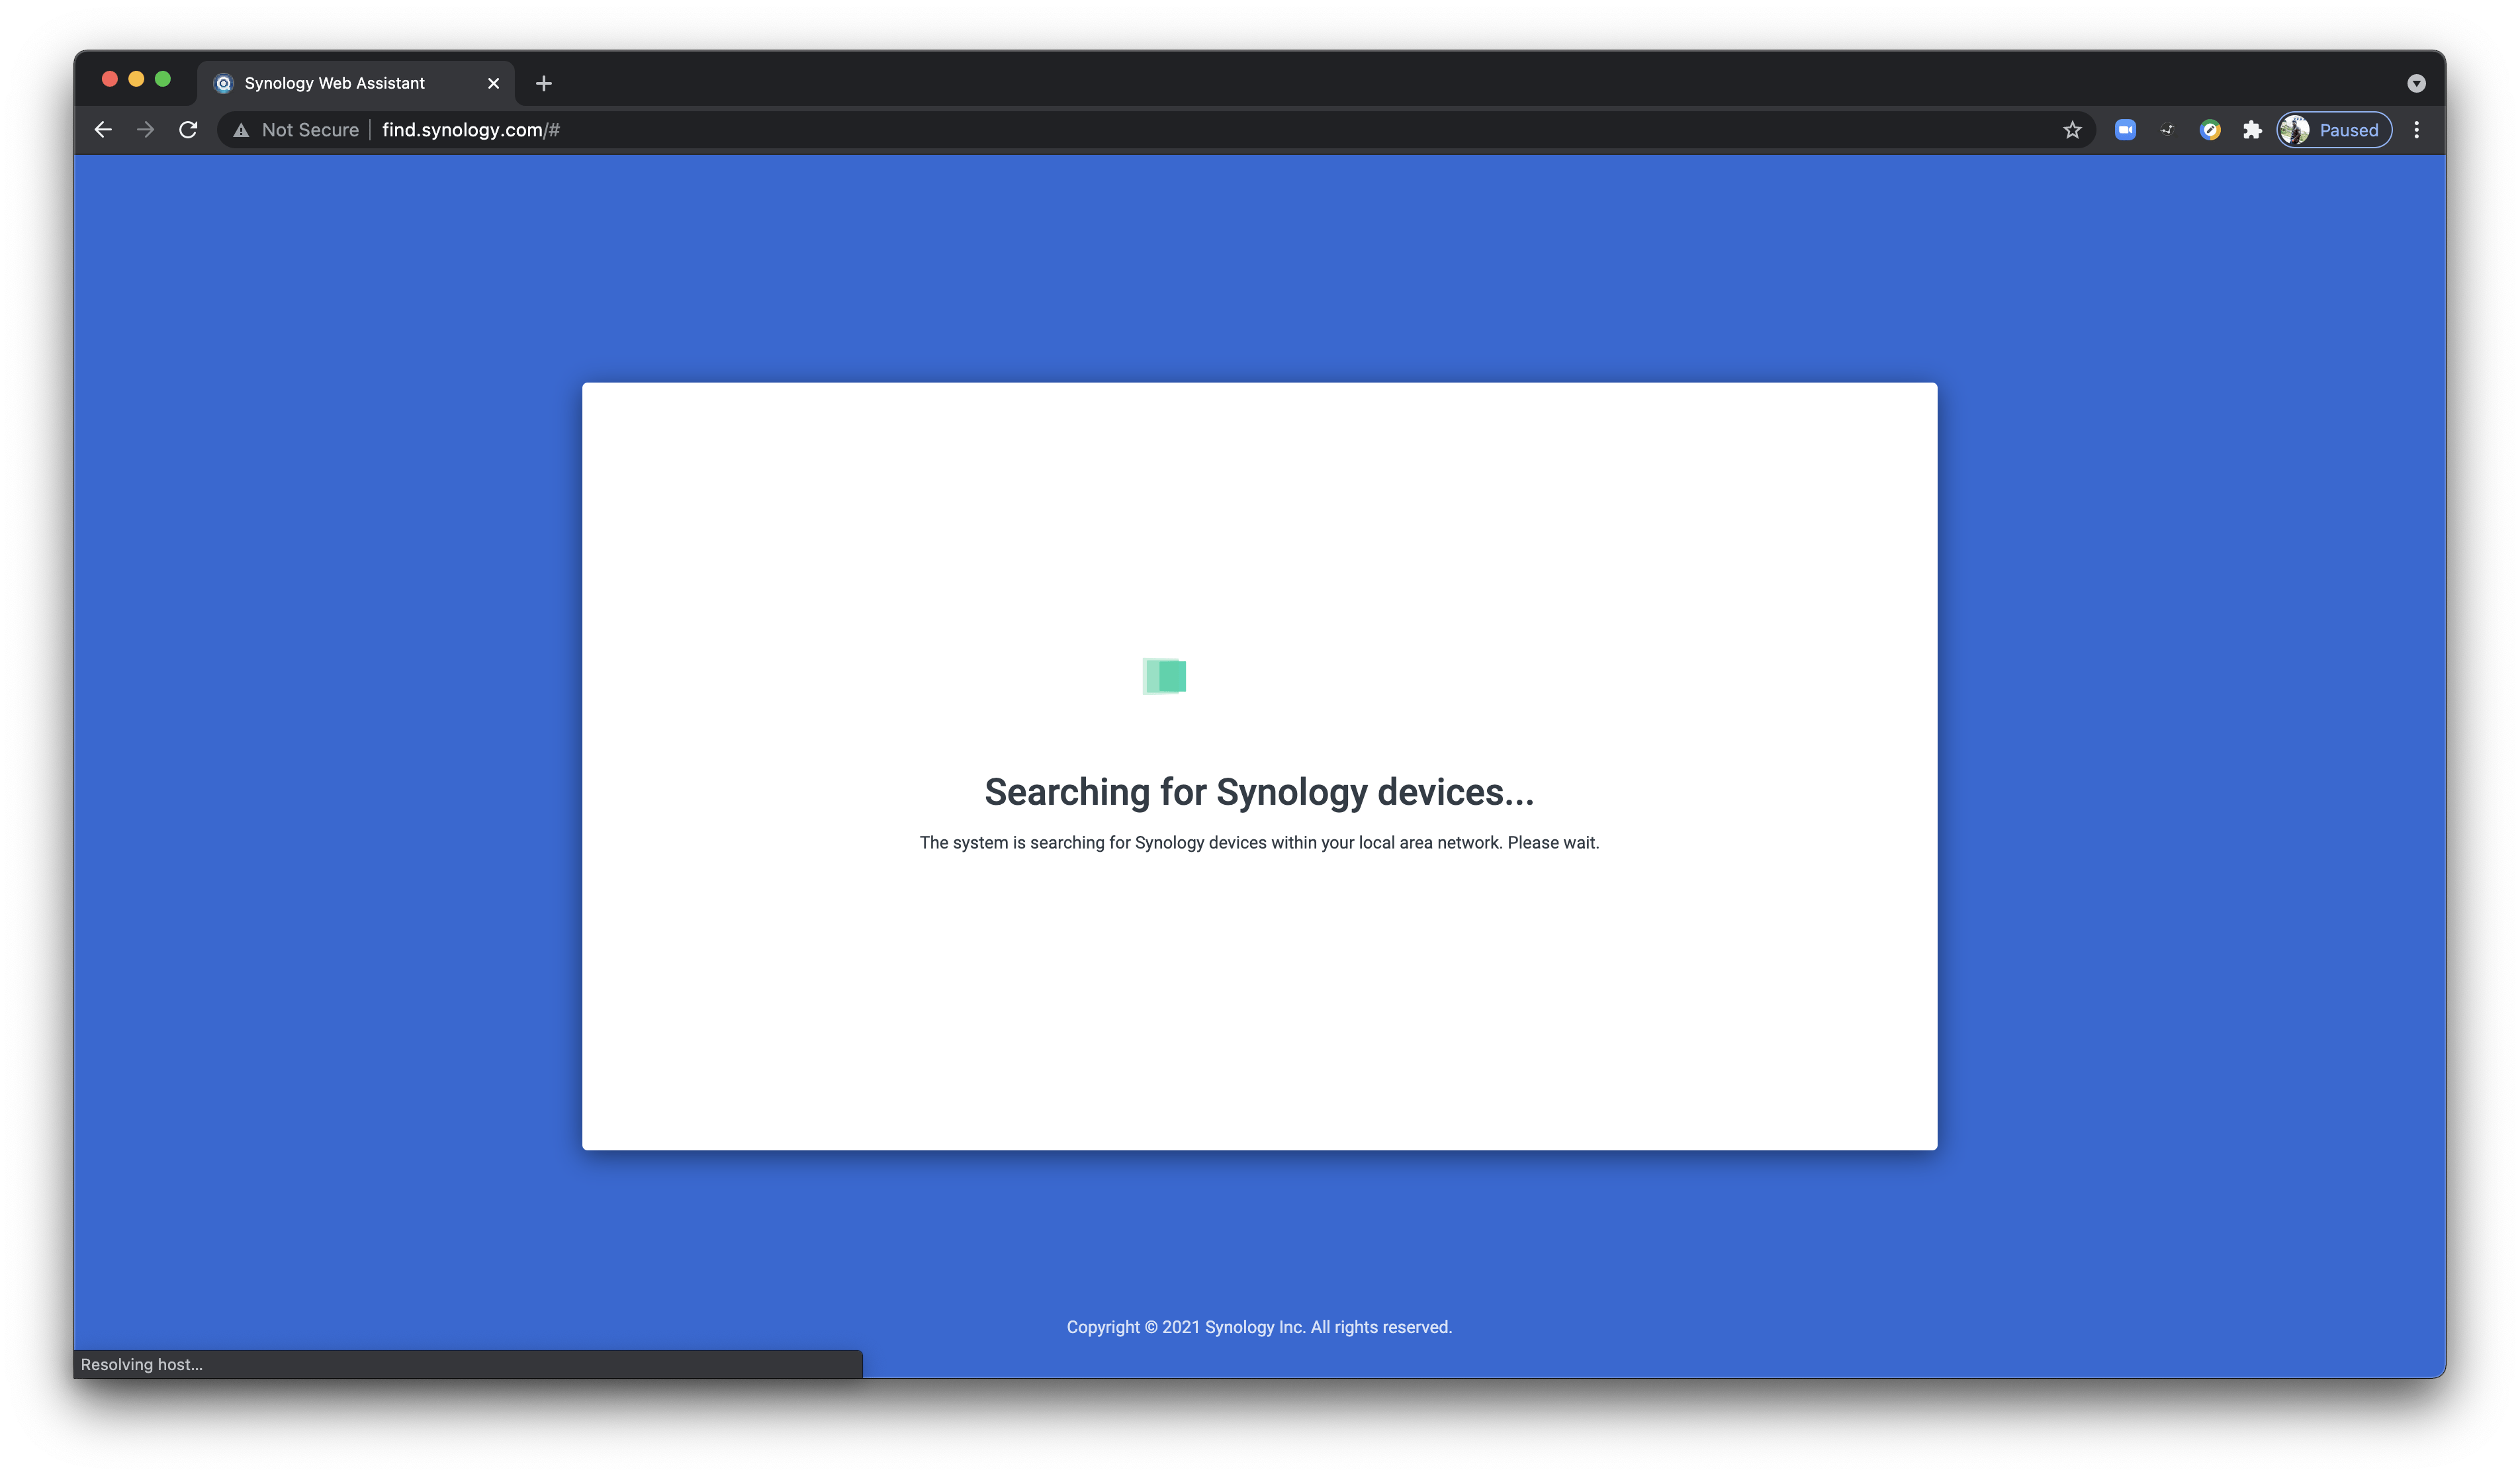
After powering on the NAS unit, Reach out to the computer and open browser and type in : http://find.synology.com, This should search for the NAS Device in the network as shown below :
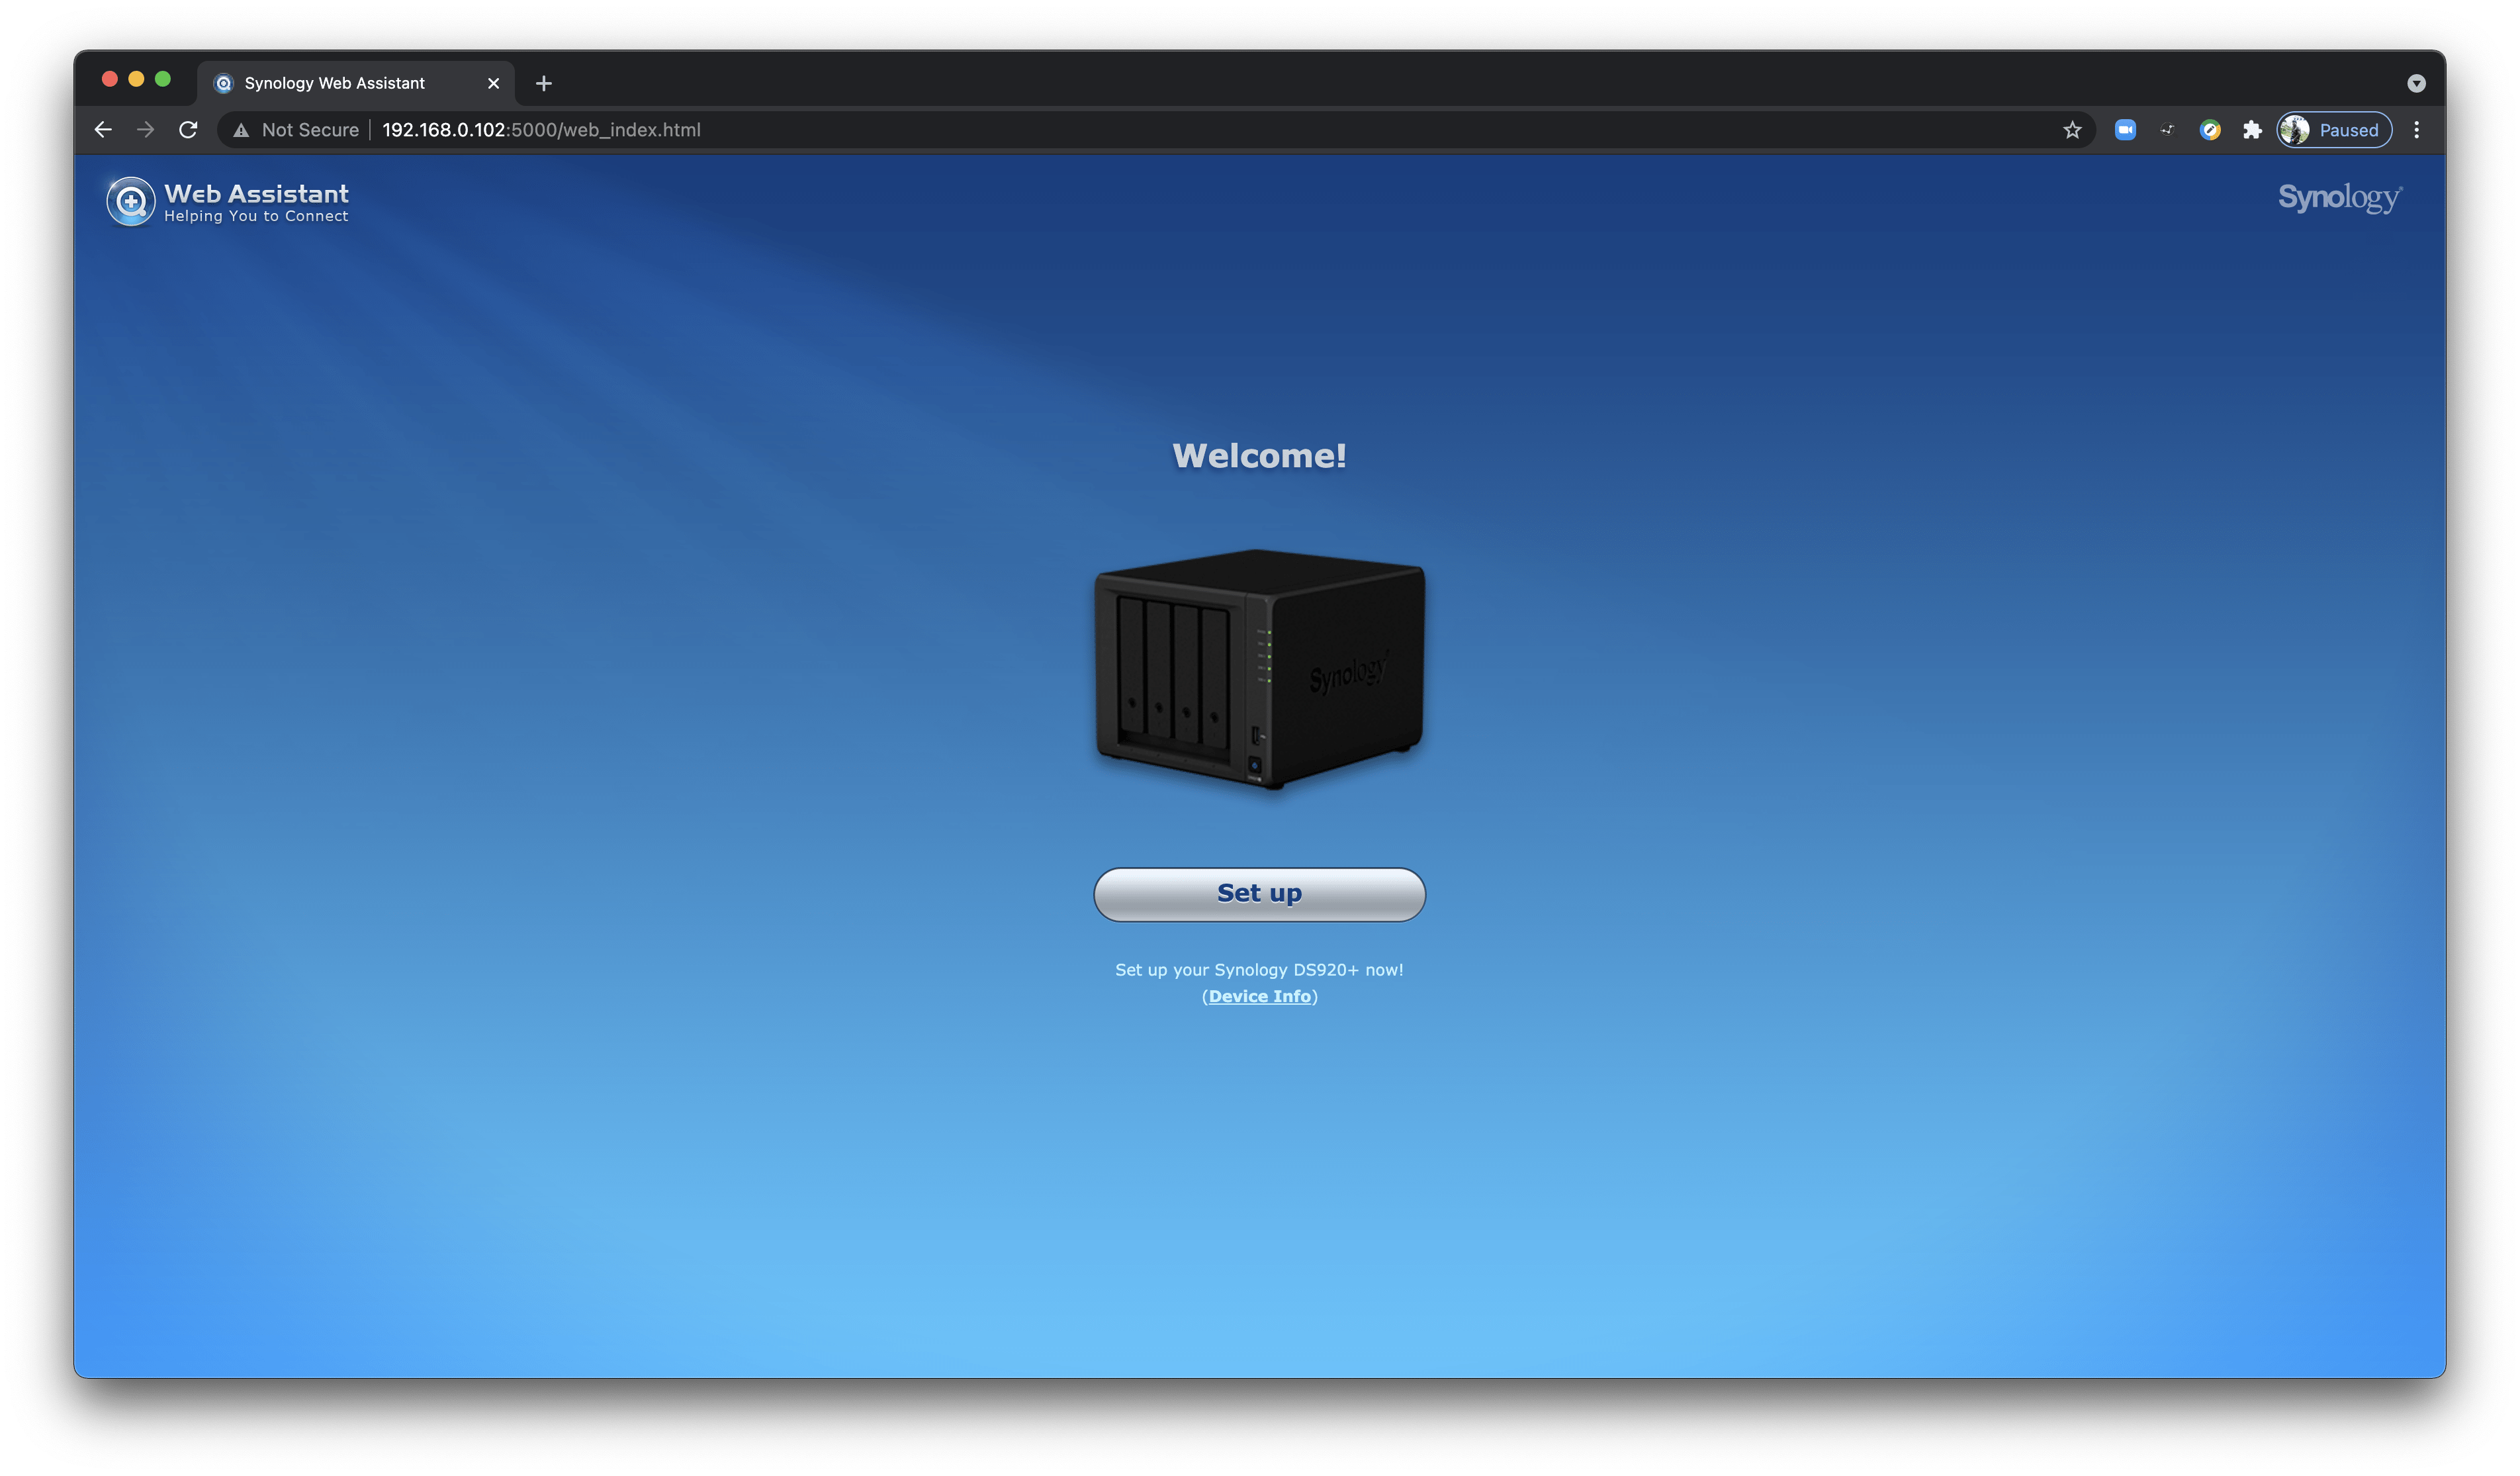
Once the Synology NAS device is detected in the network, The page gets redirected and lands on the Web Assistant Startup Wizard as shown below:
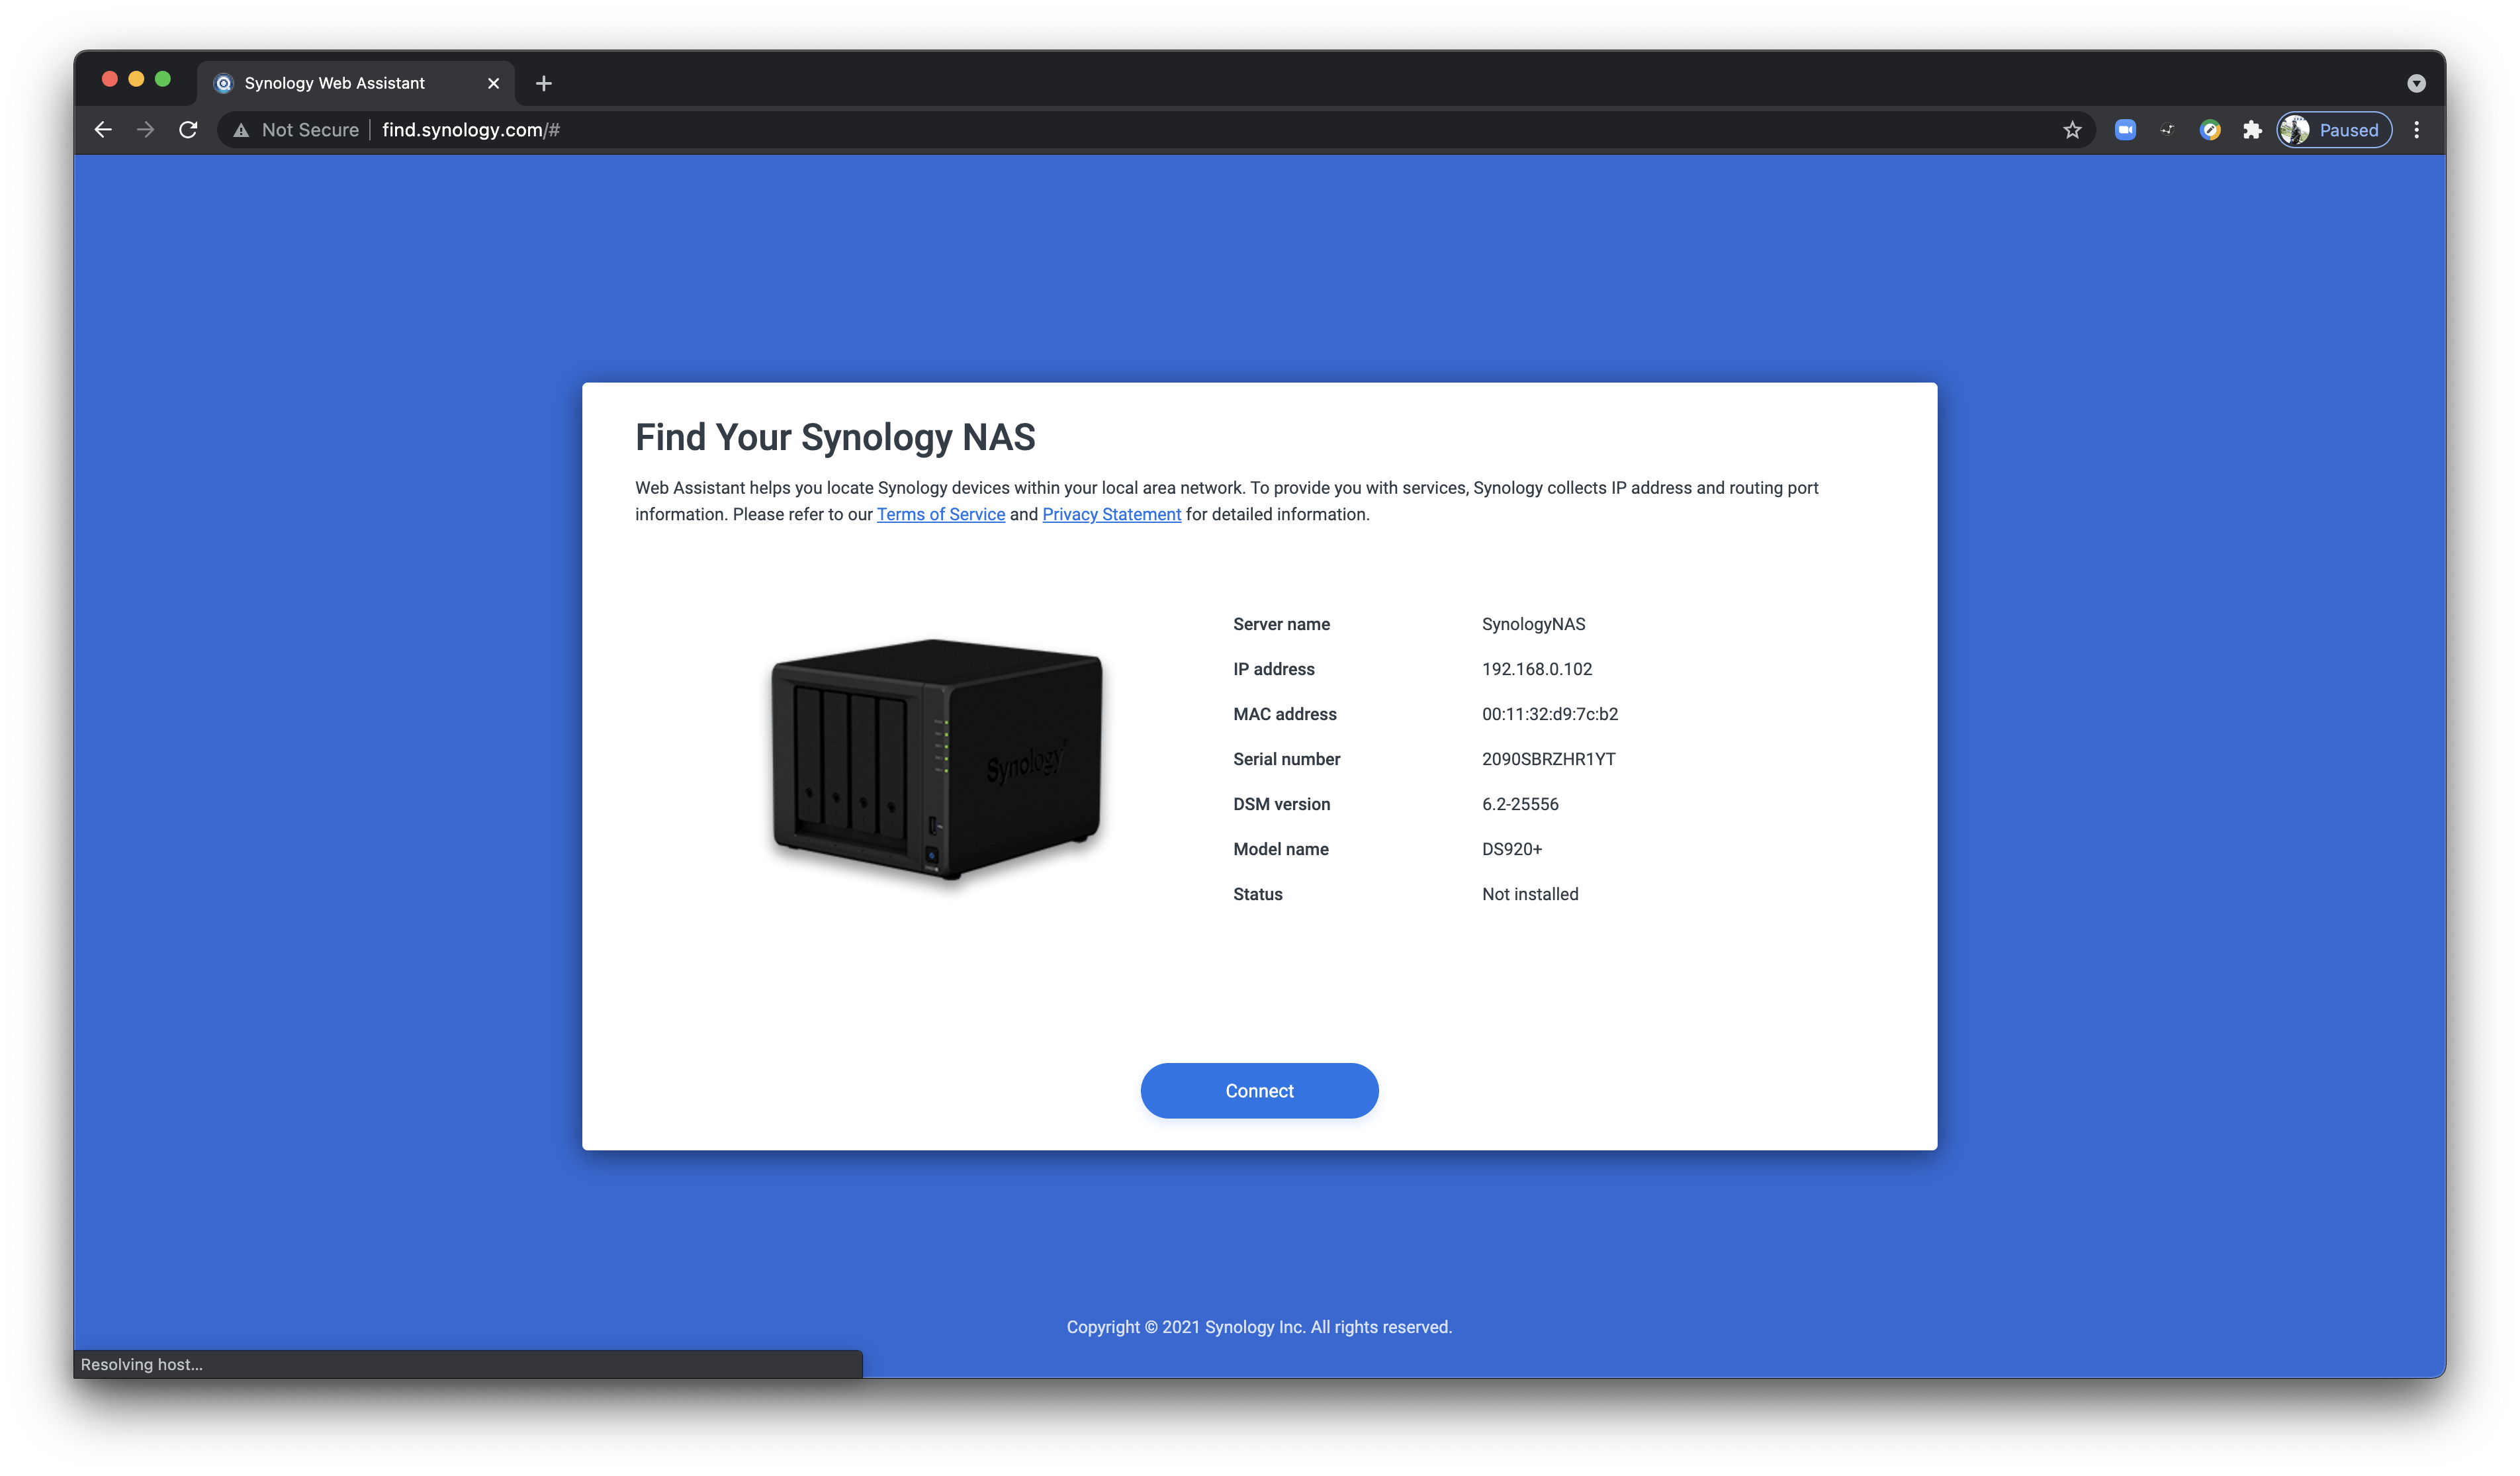
Click the connect button, Which should land on the below page :
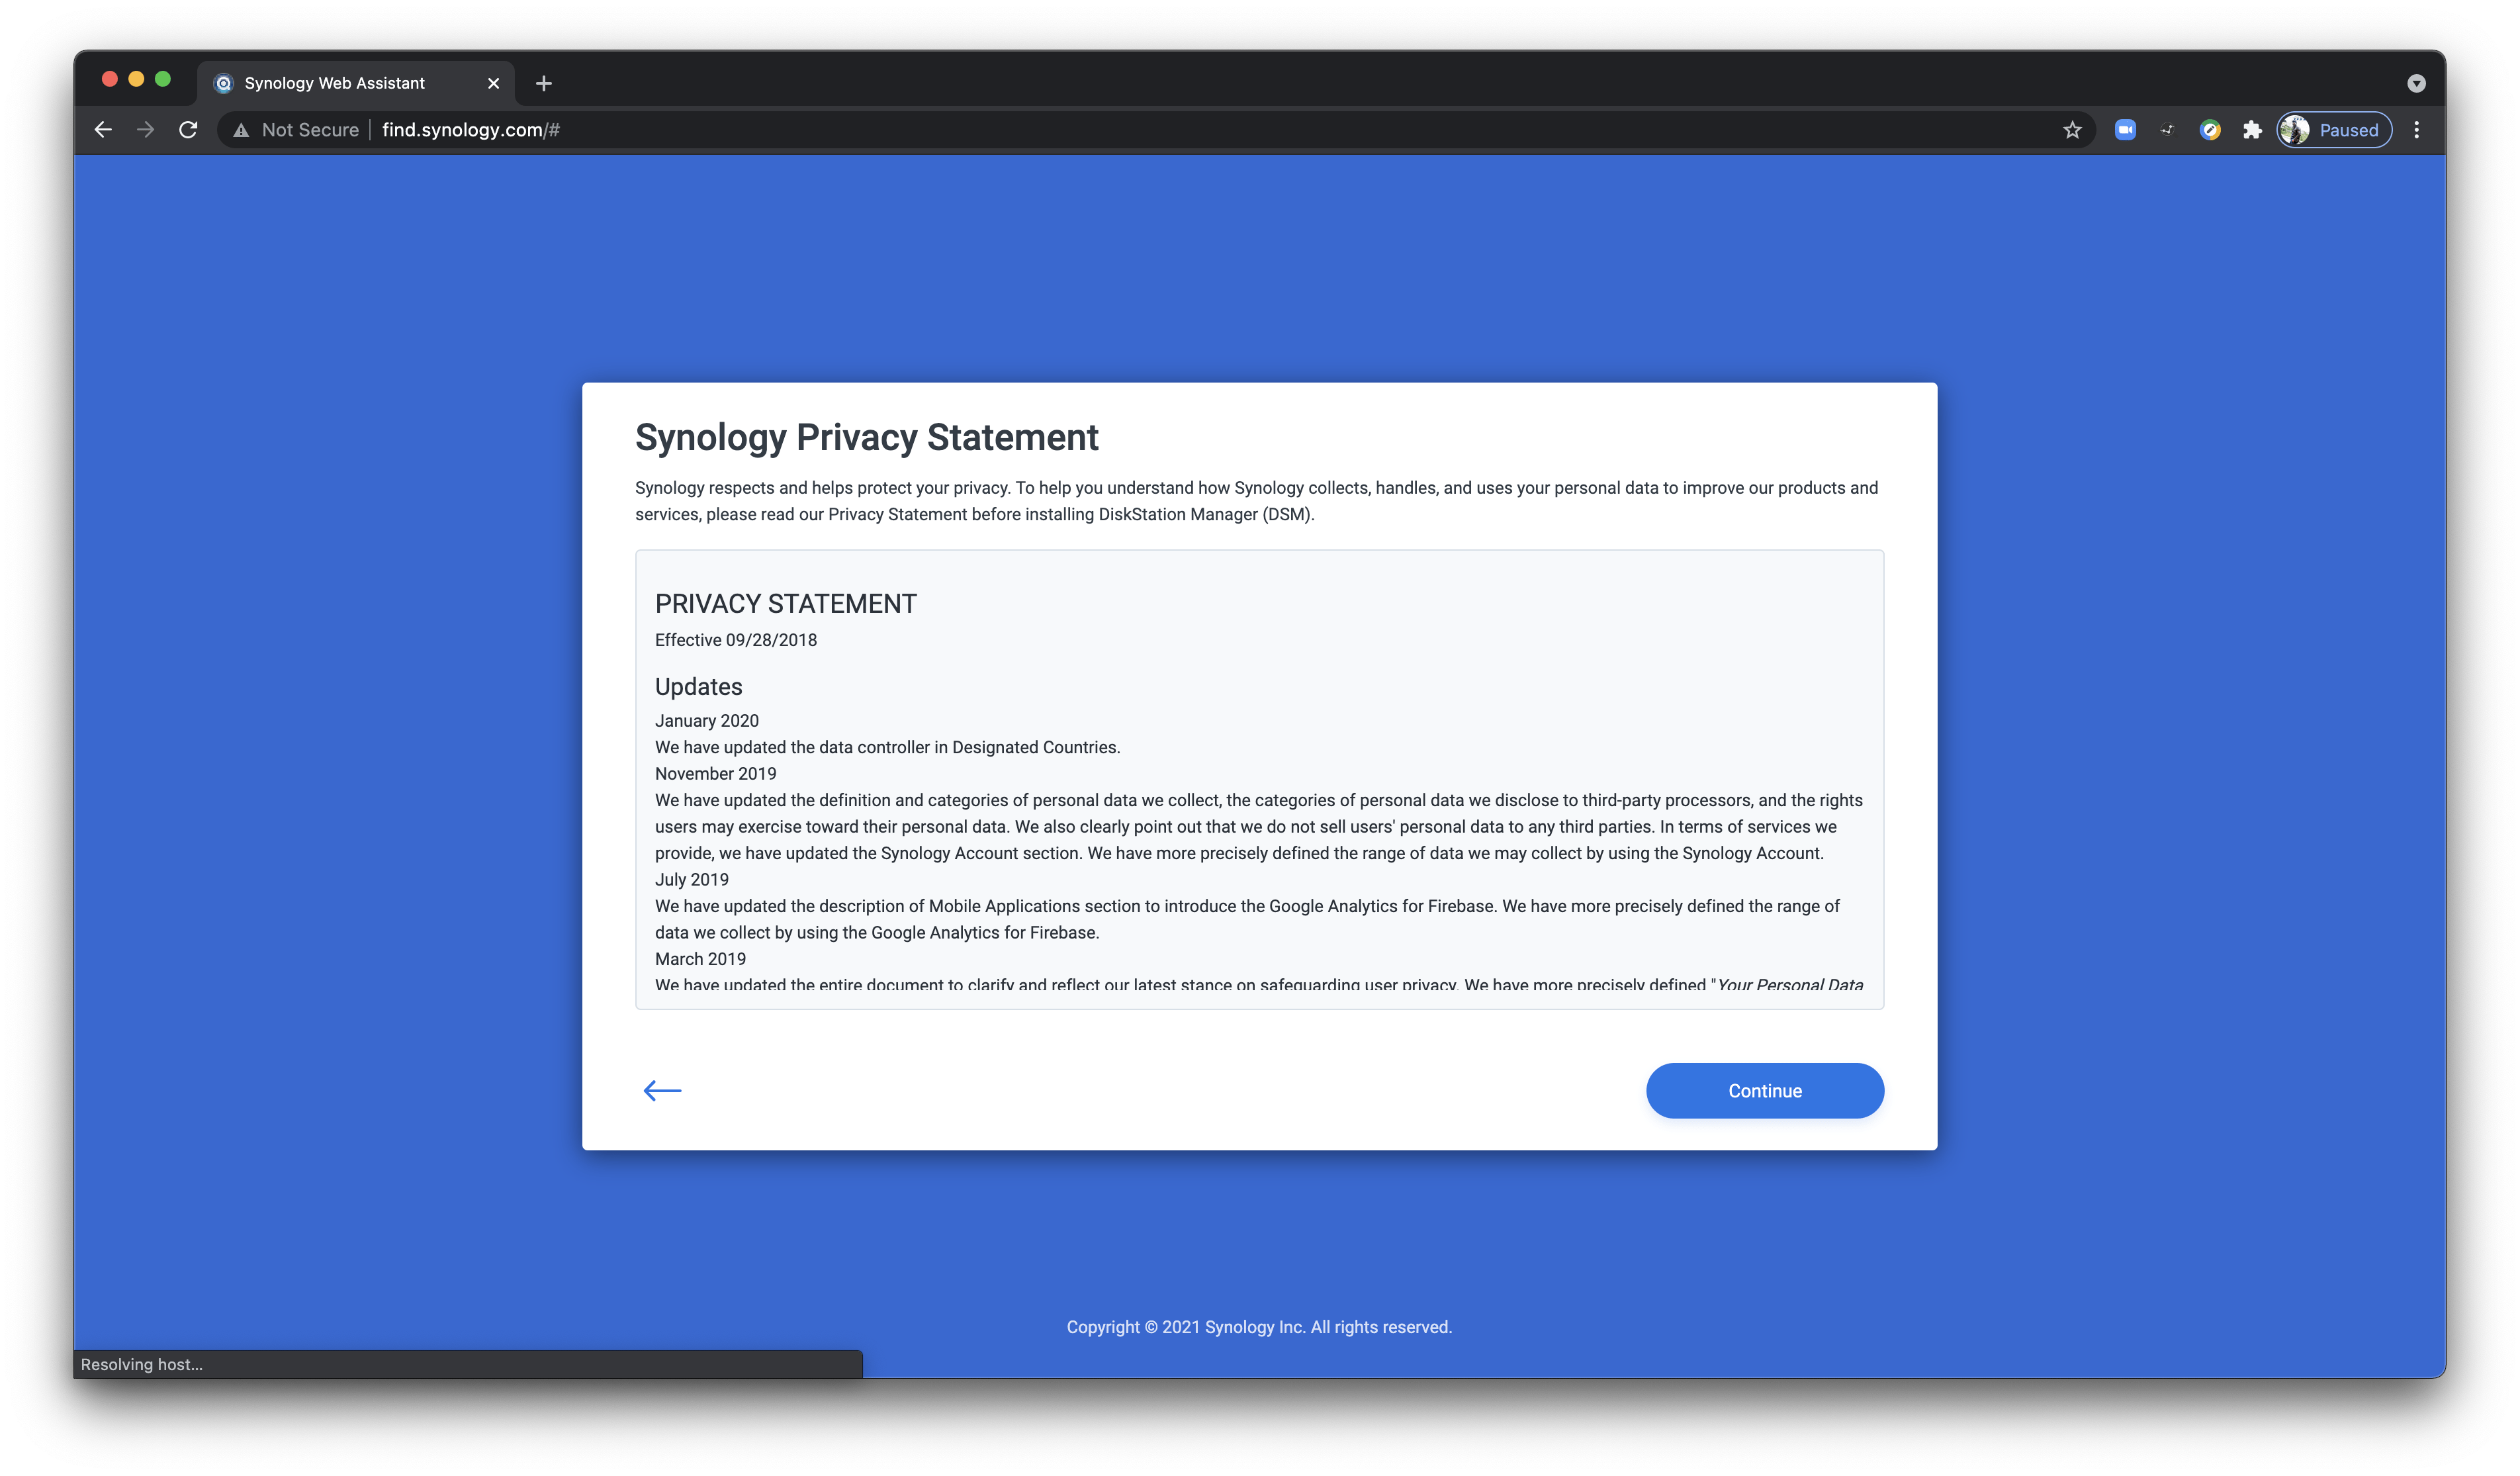
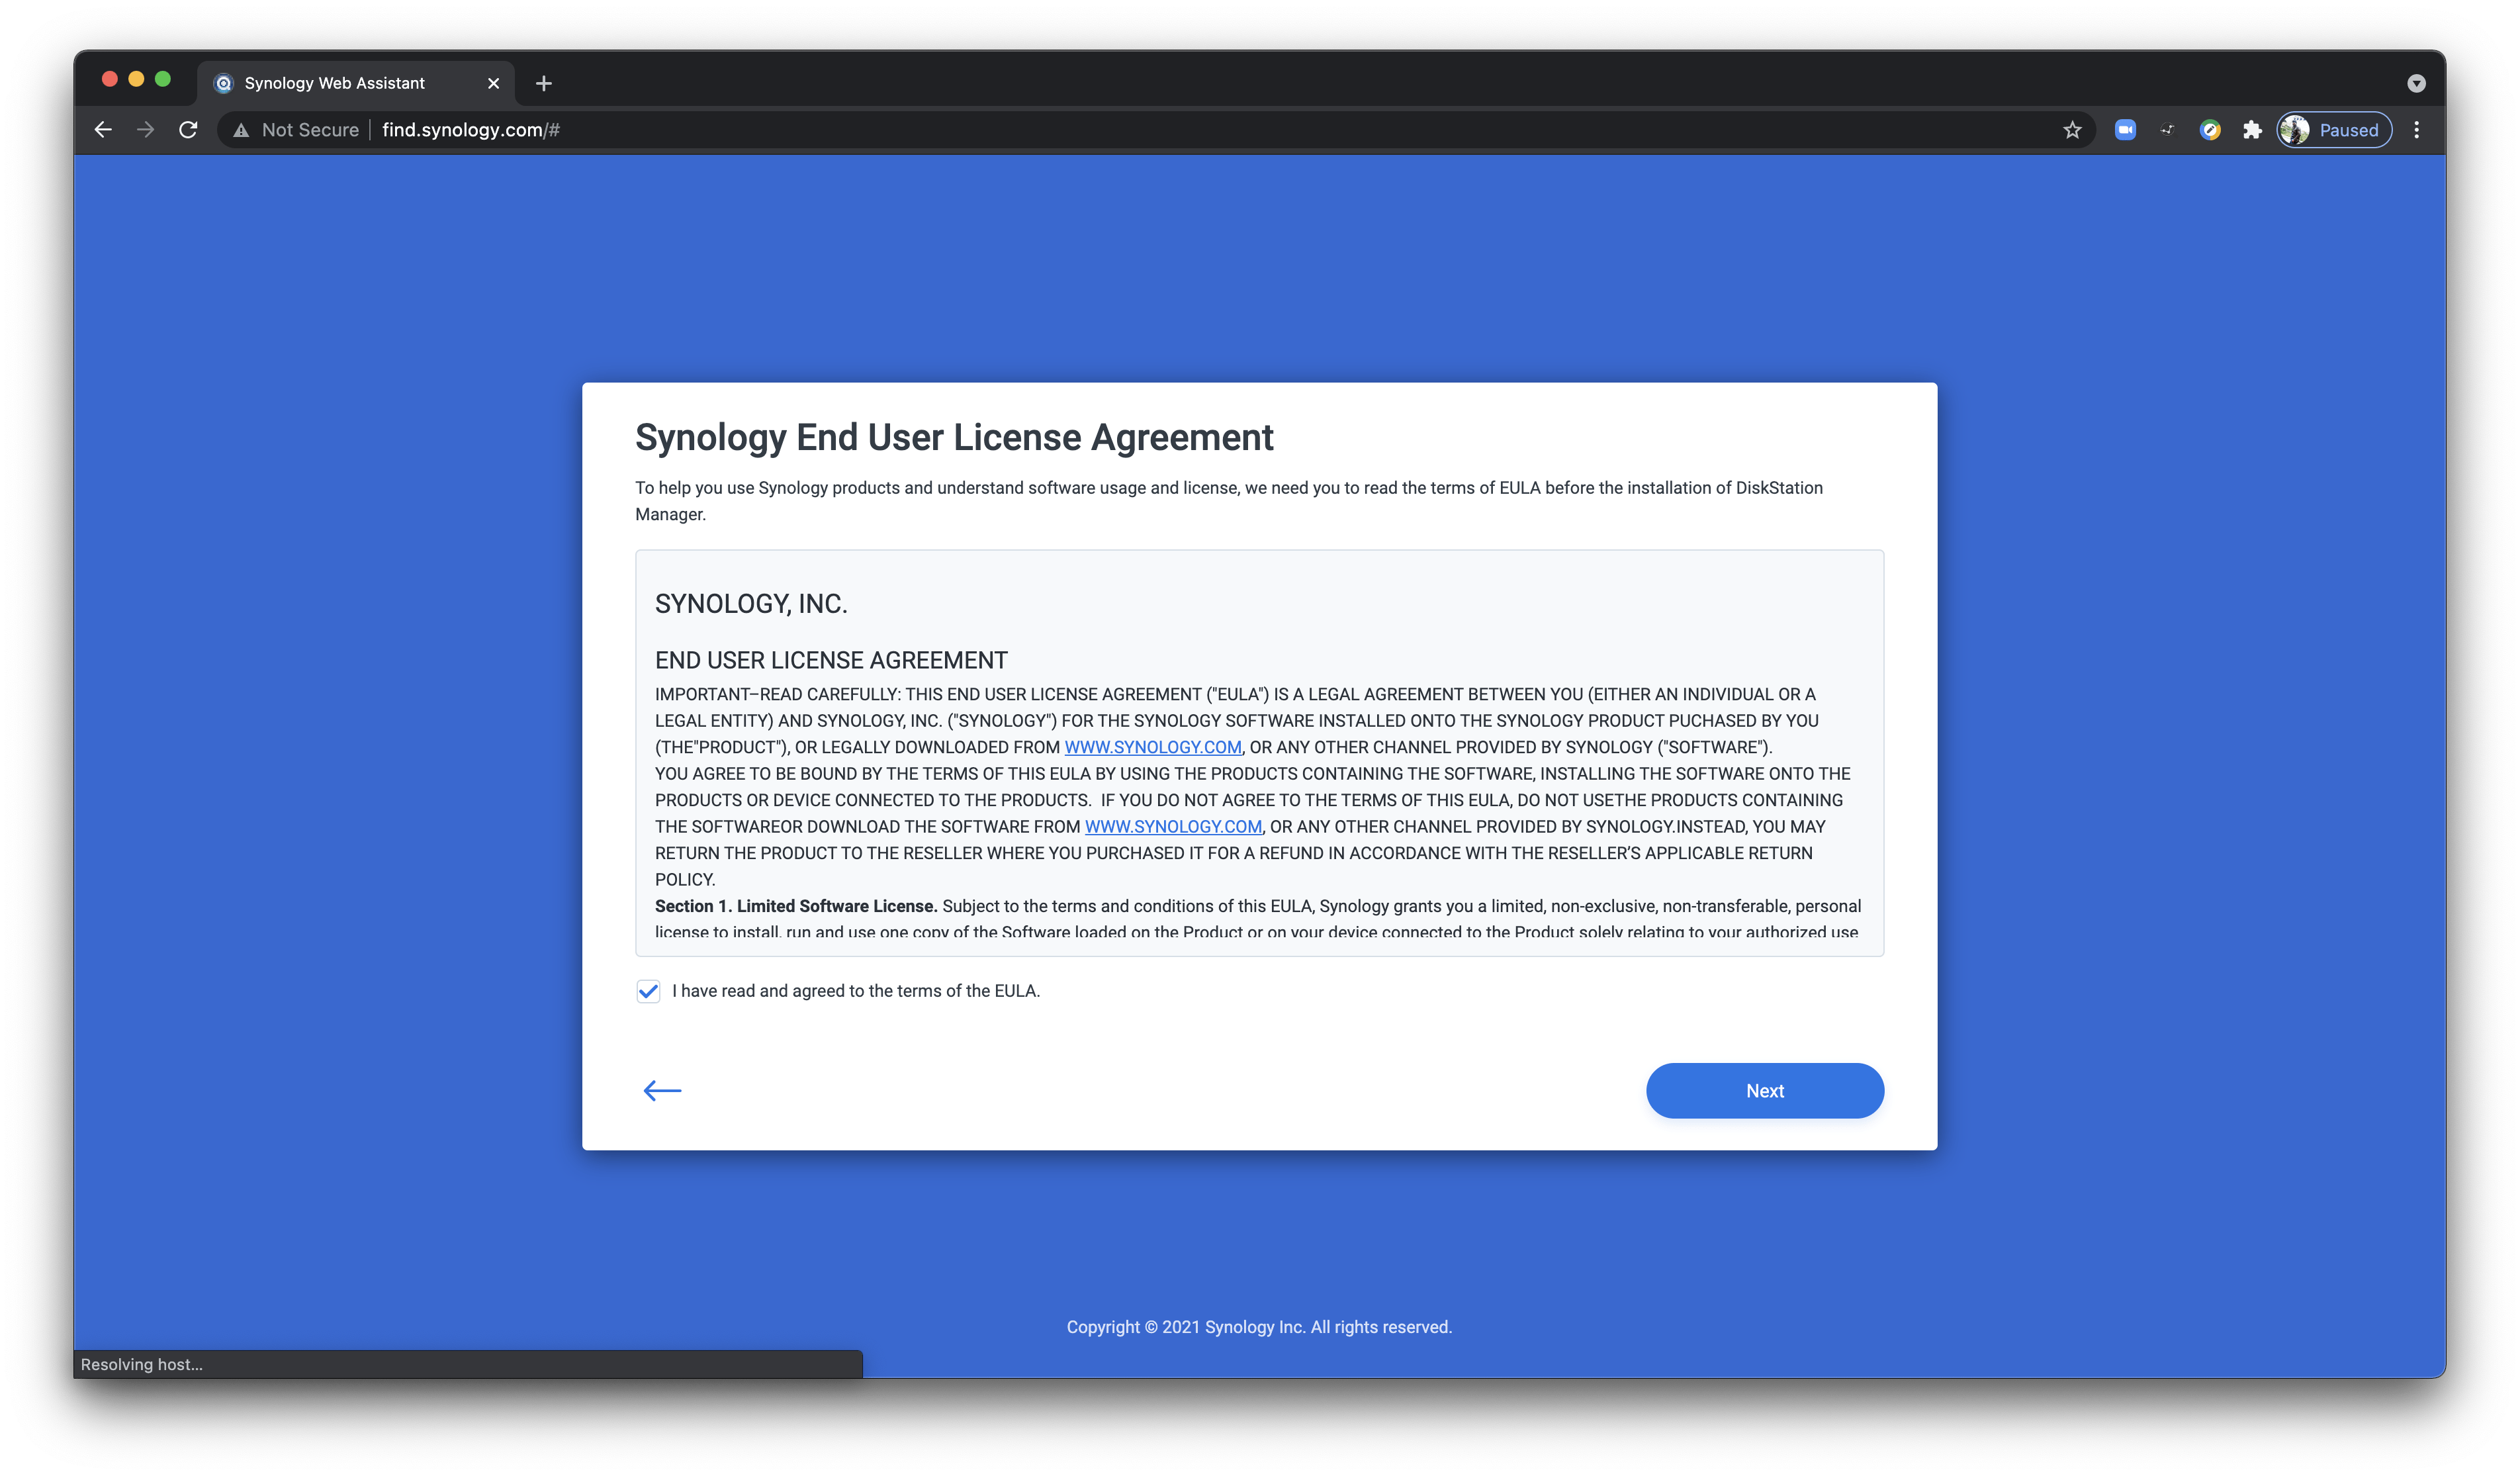
Click Next and Continue ahead :
Now Select the Setup button as shown above :
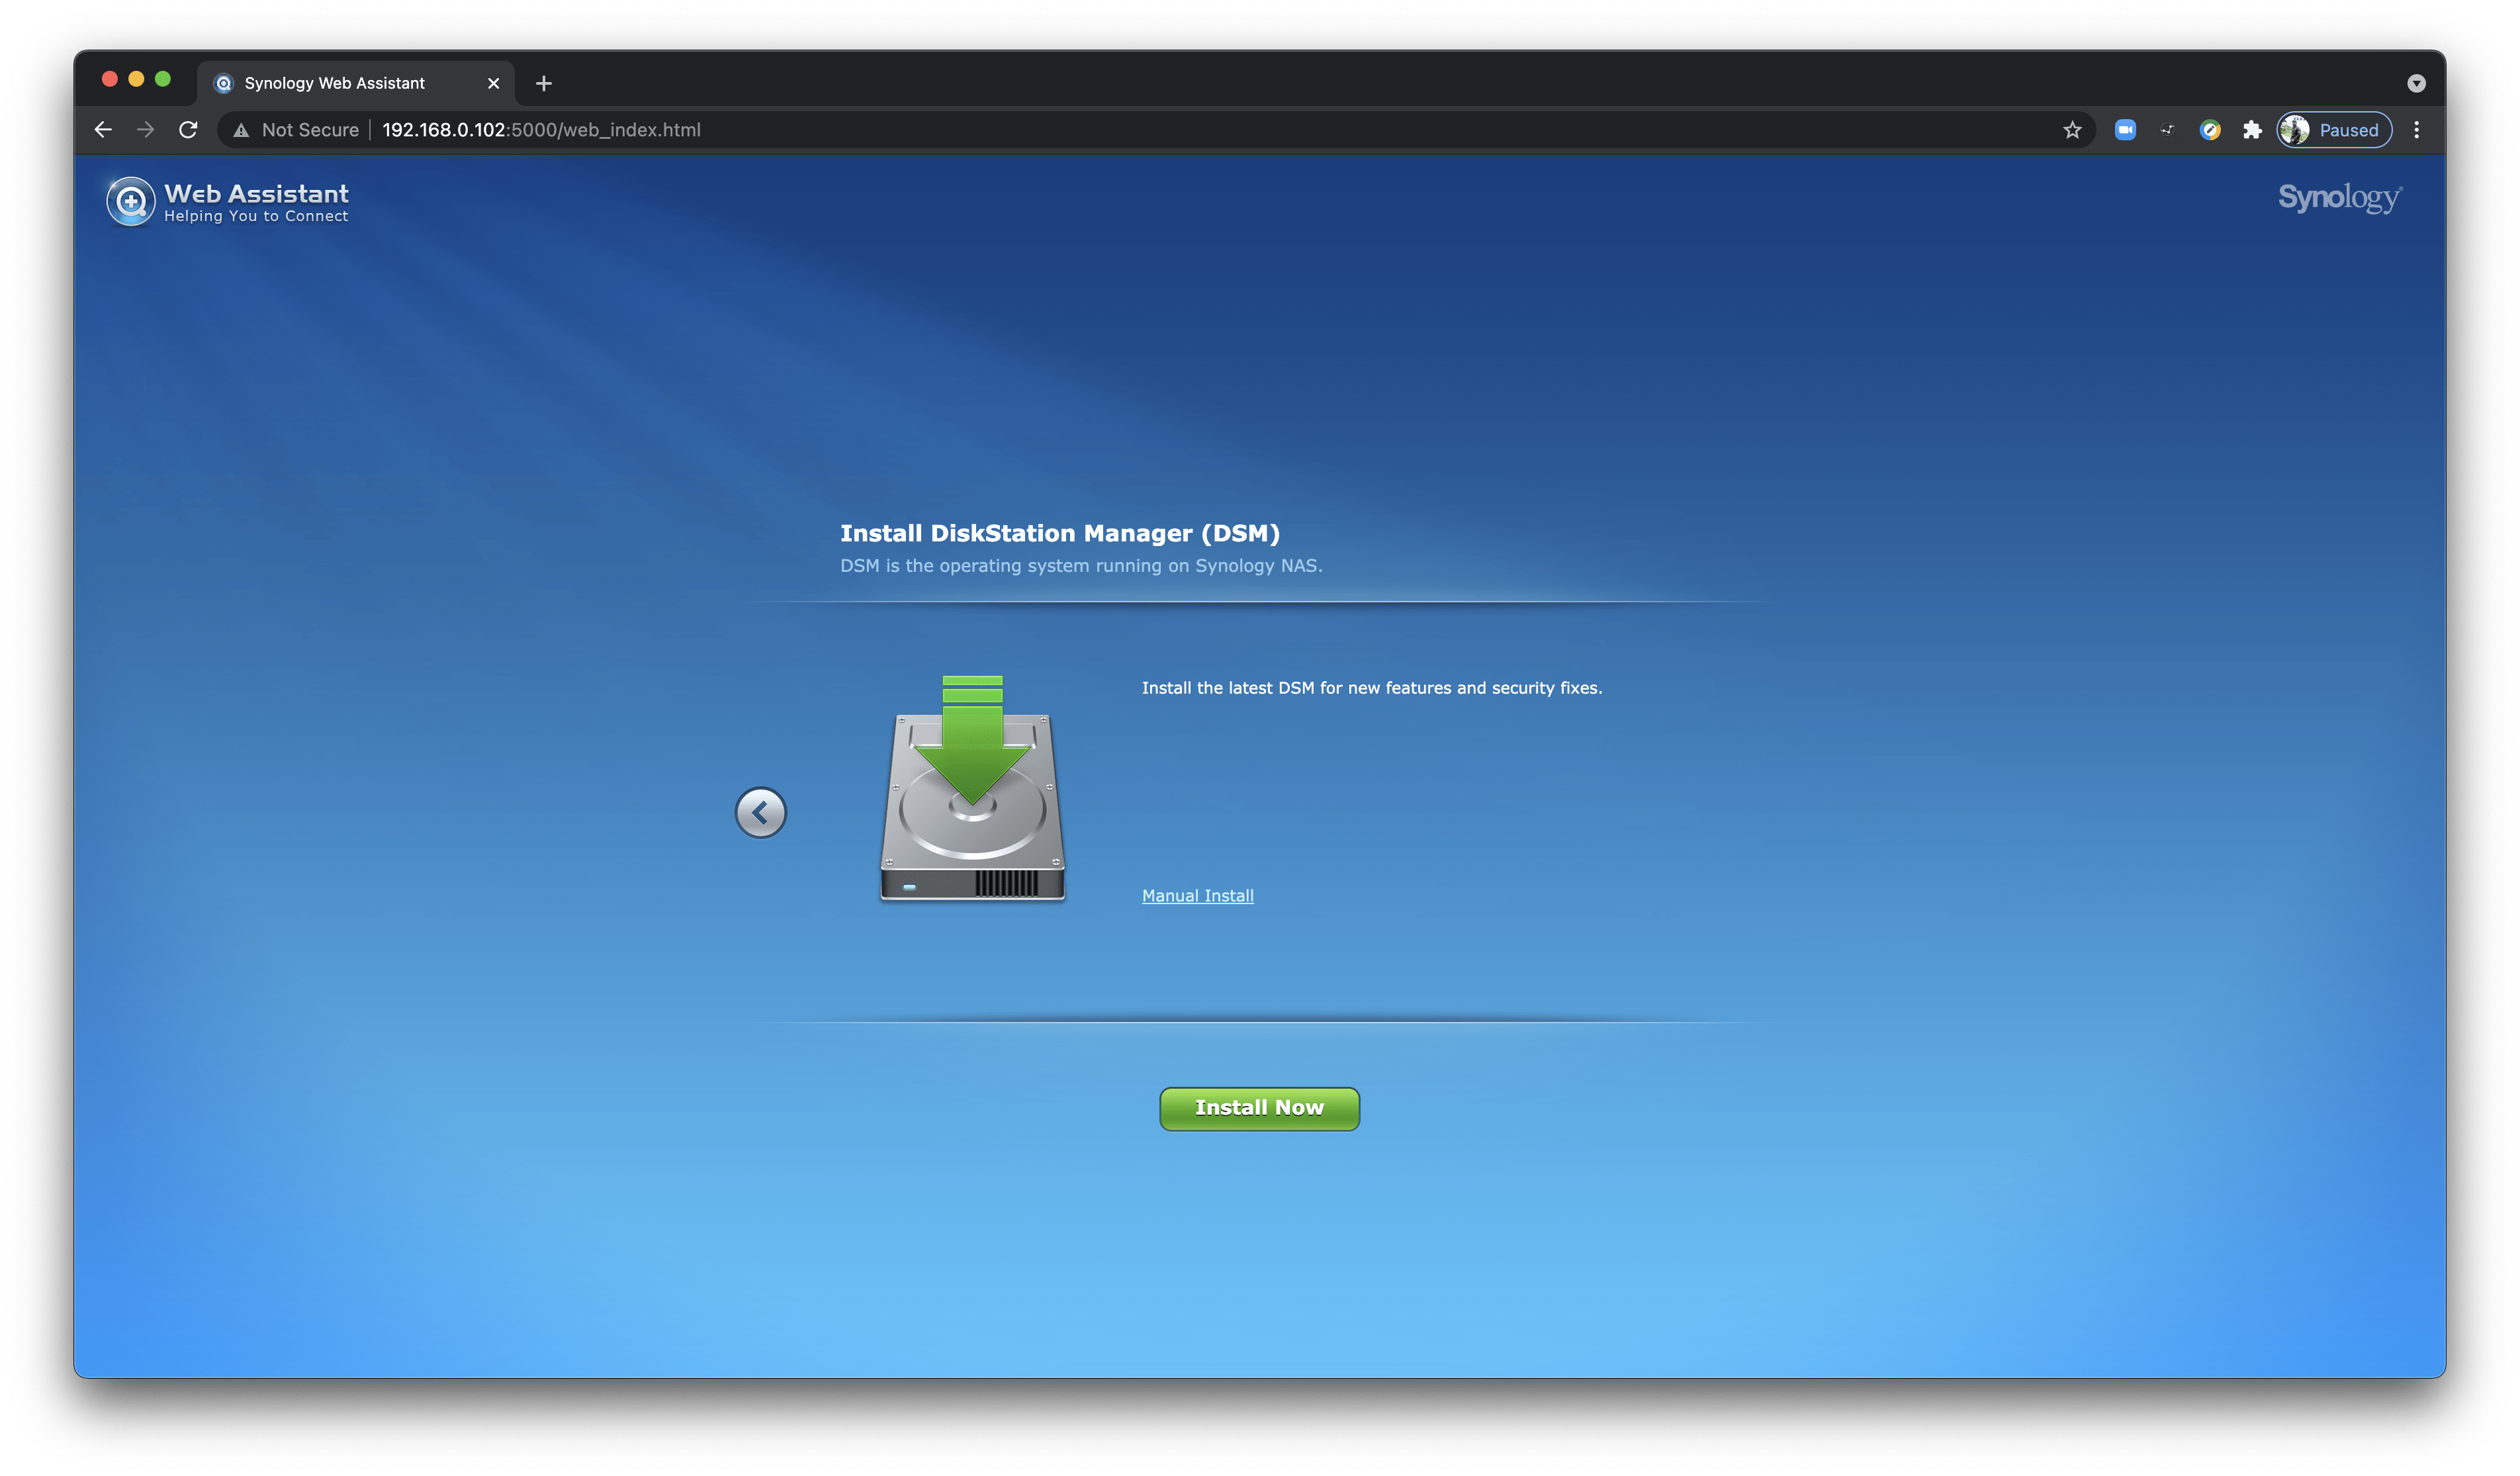
Now it gets landed in the DSM (DiskStation Manager) Installation page, Its like a NAS operating system and management platform for the Synology NAS Station. Clicking Install now button as shown above :
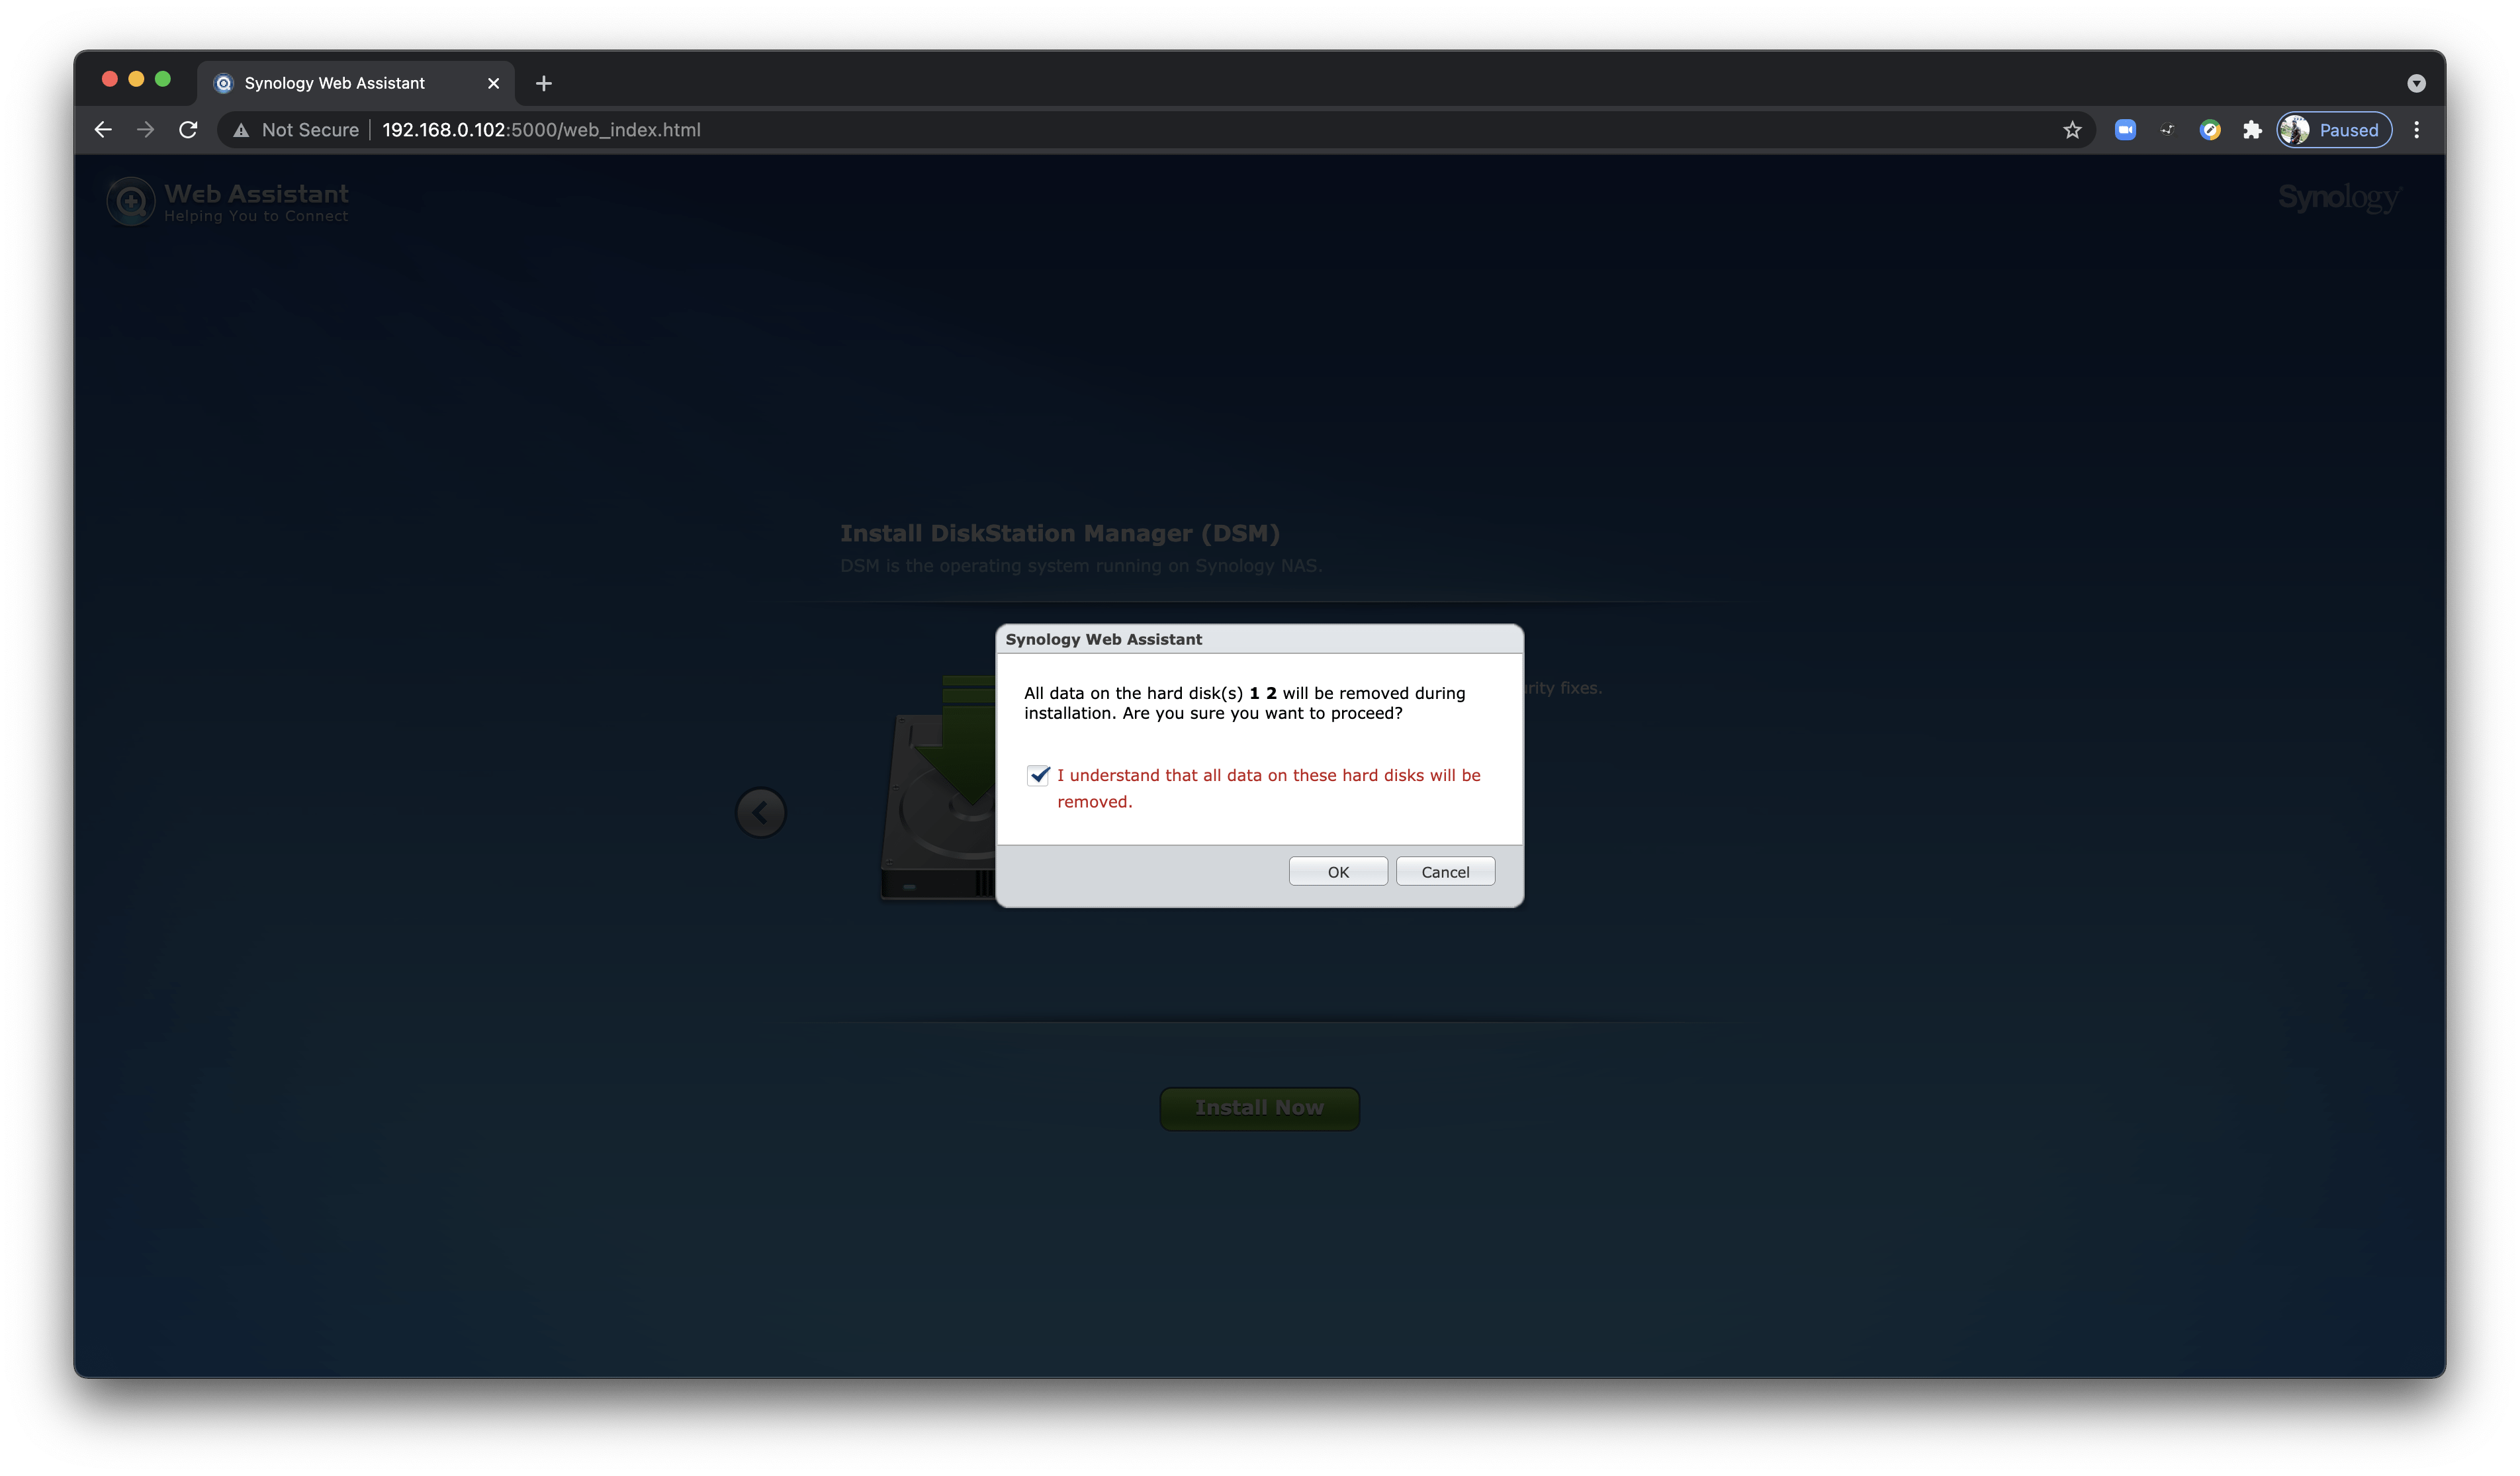
All the NAS Disks inserted will be erased and rewritten as part of the DSM installer, Select the check box as shown above and click ok to proceed ahead
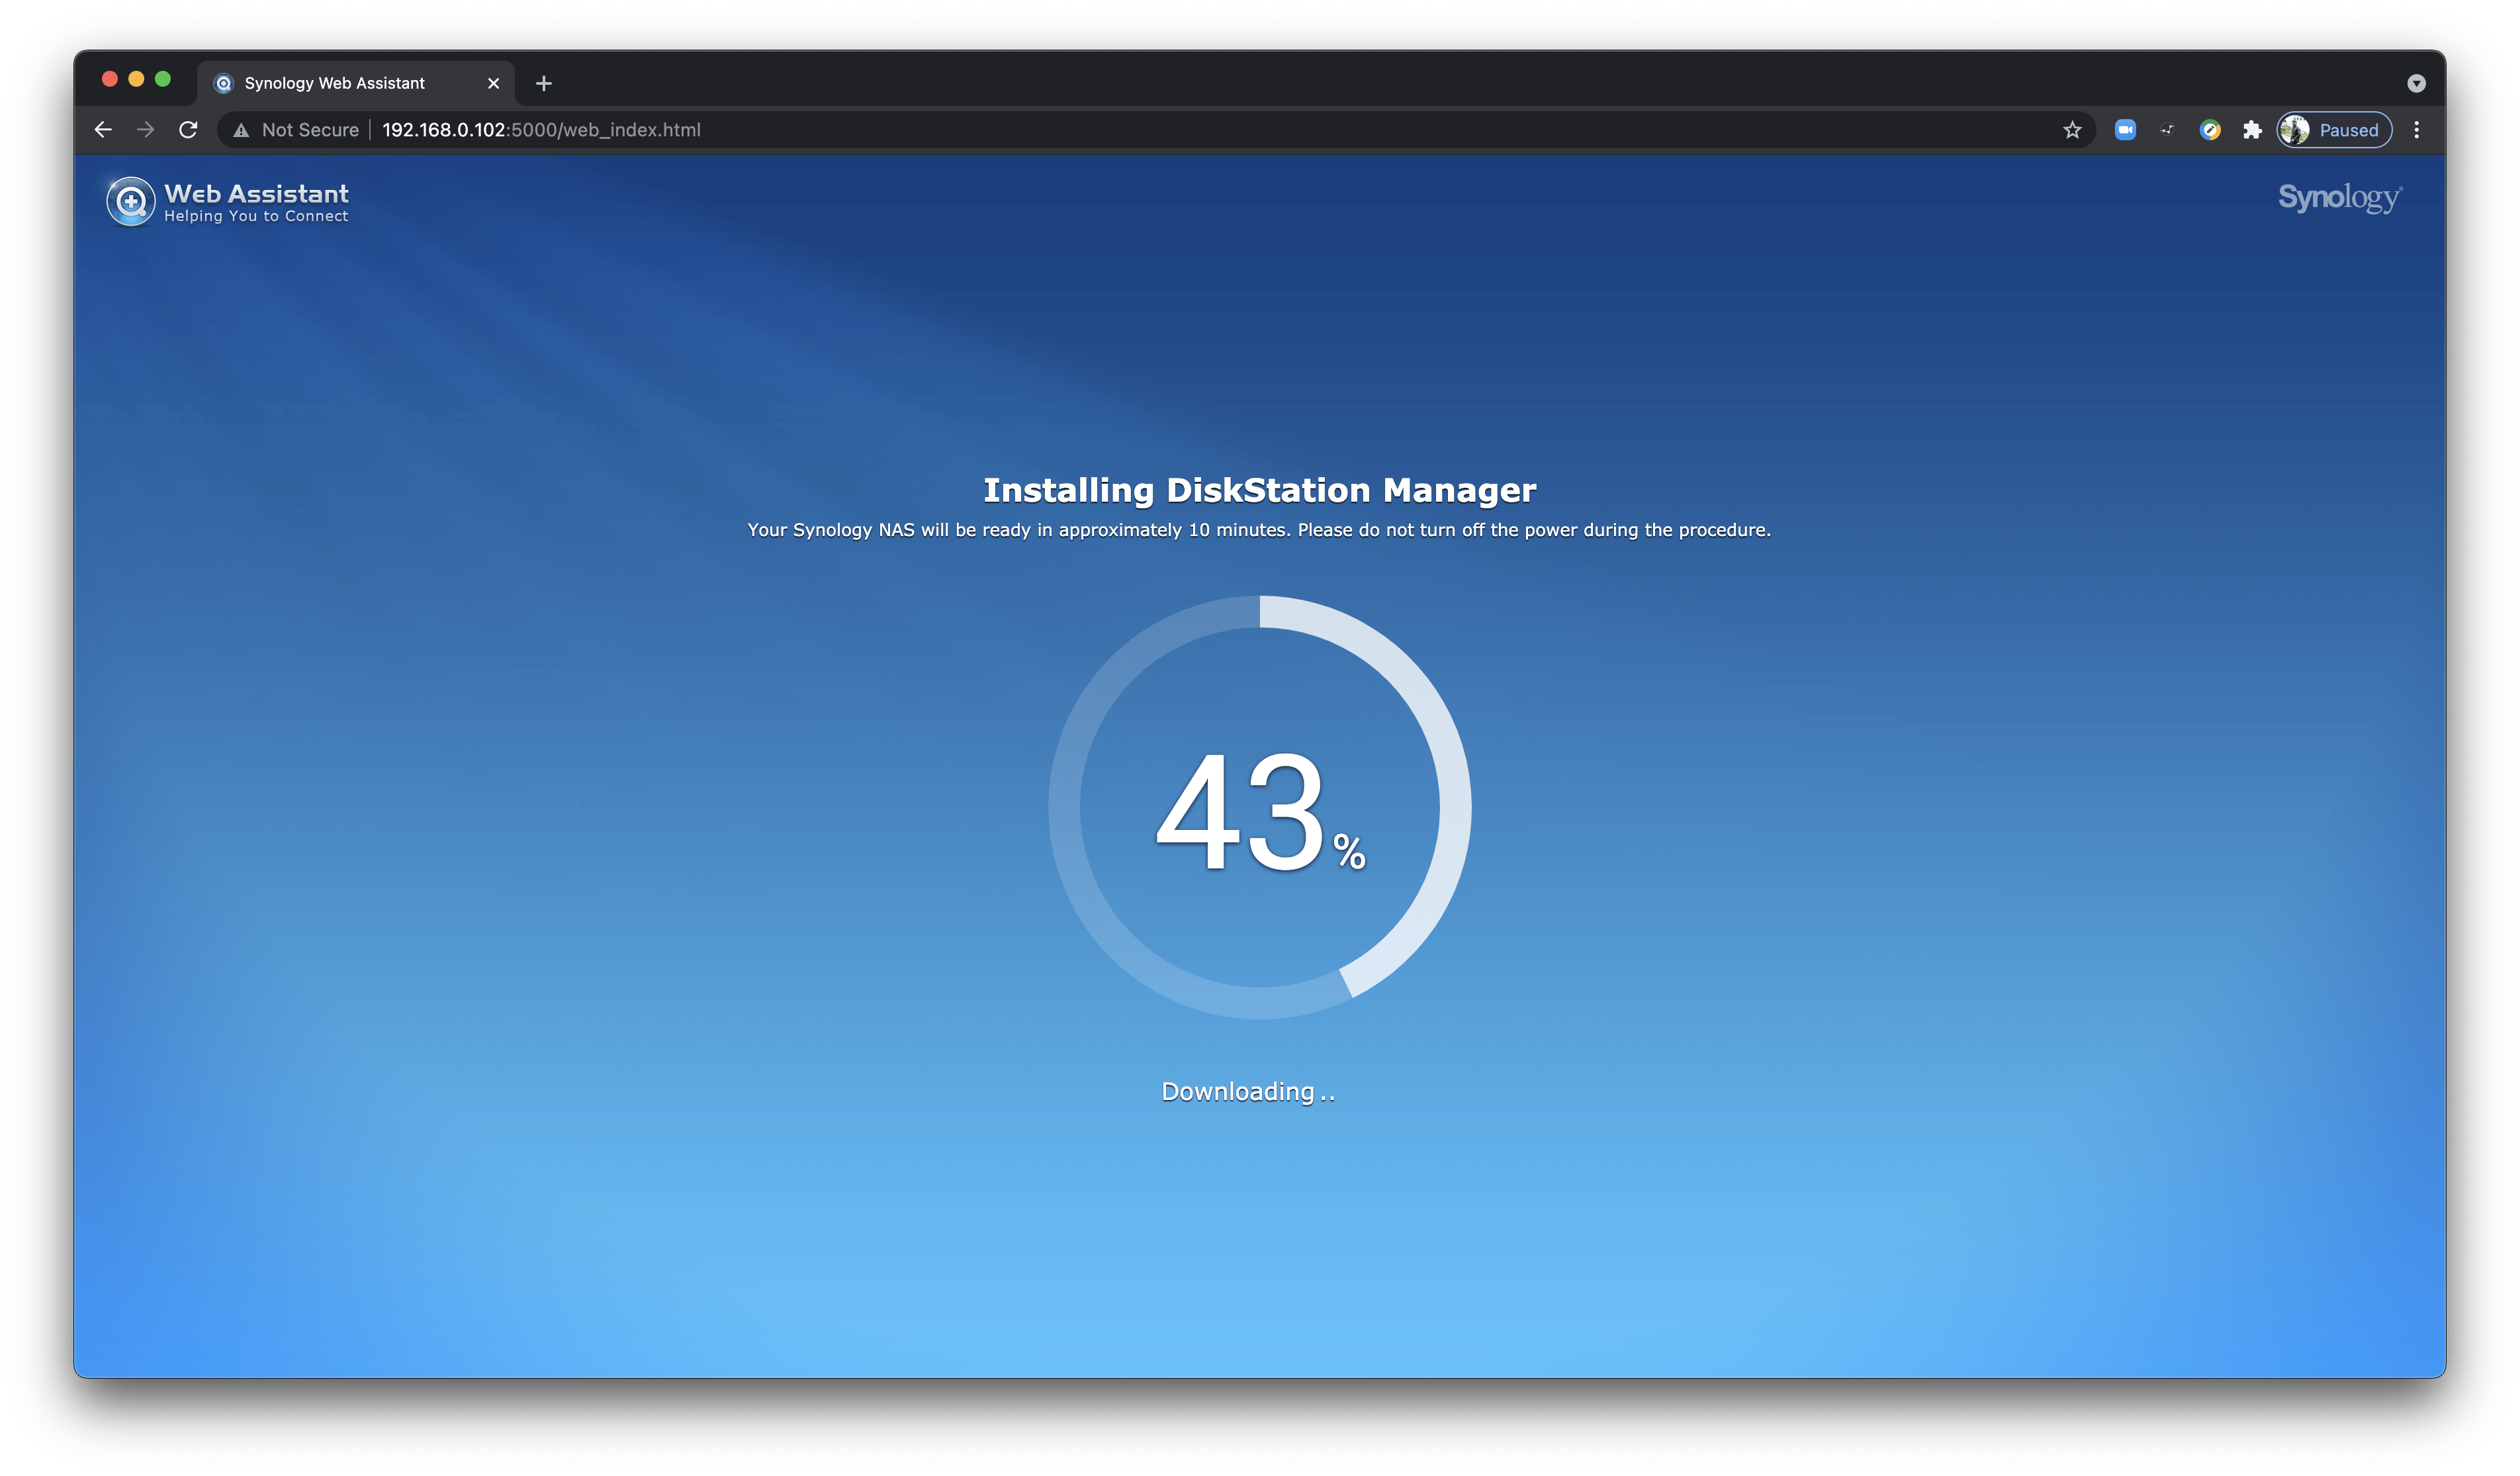
DSM gets installed in the NAS disks, Where the partitions are recreated
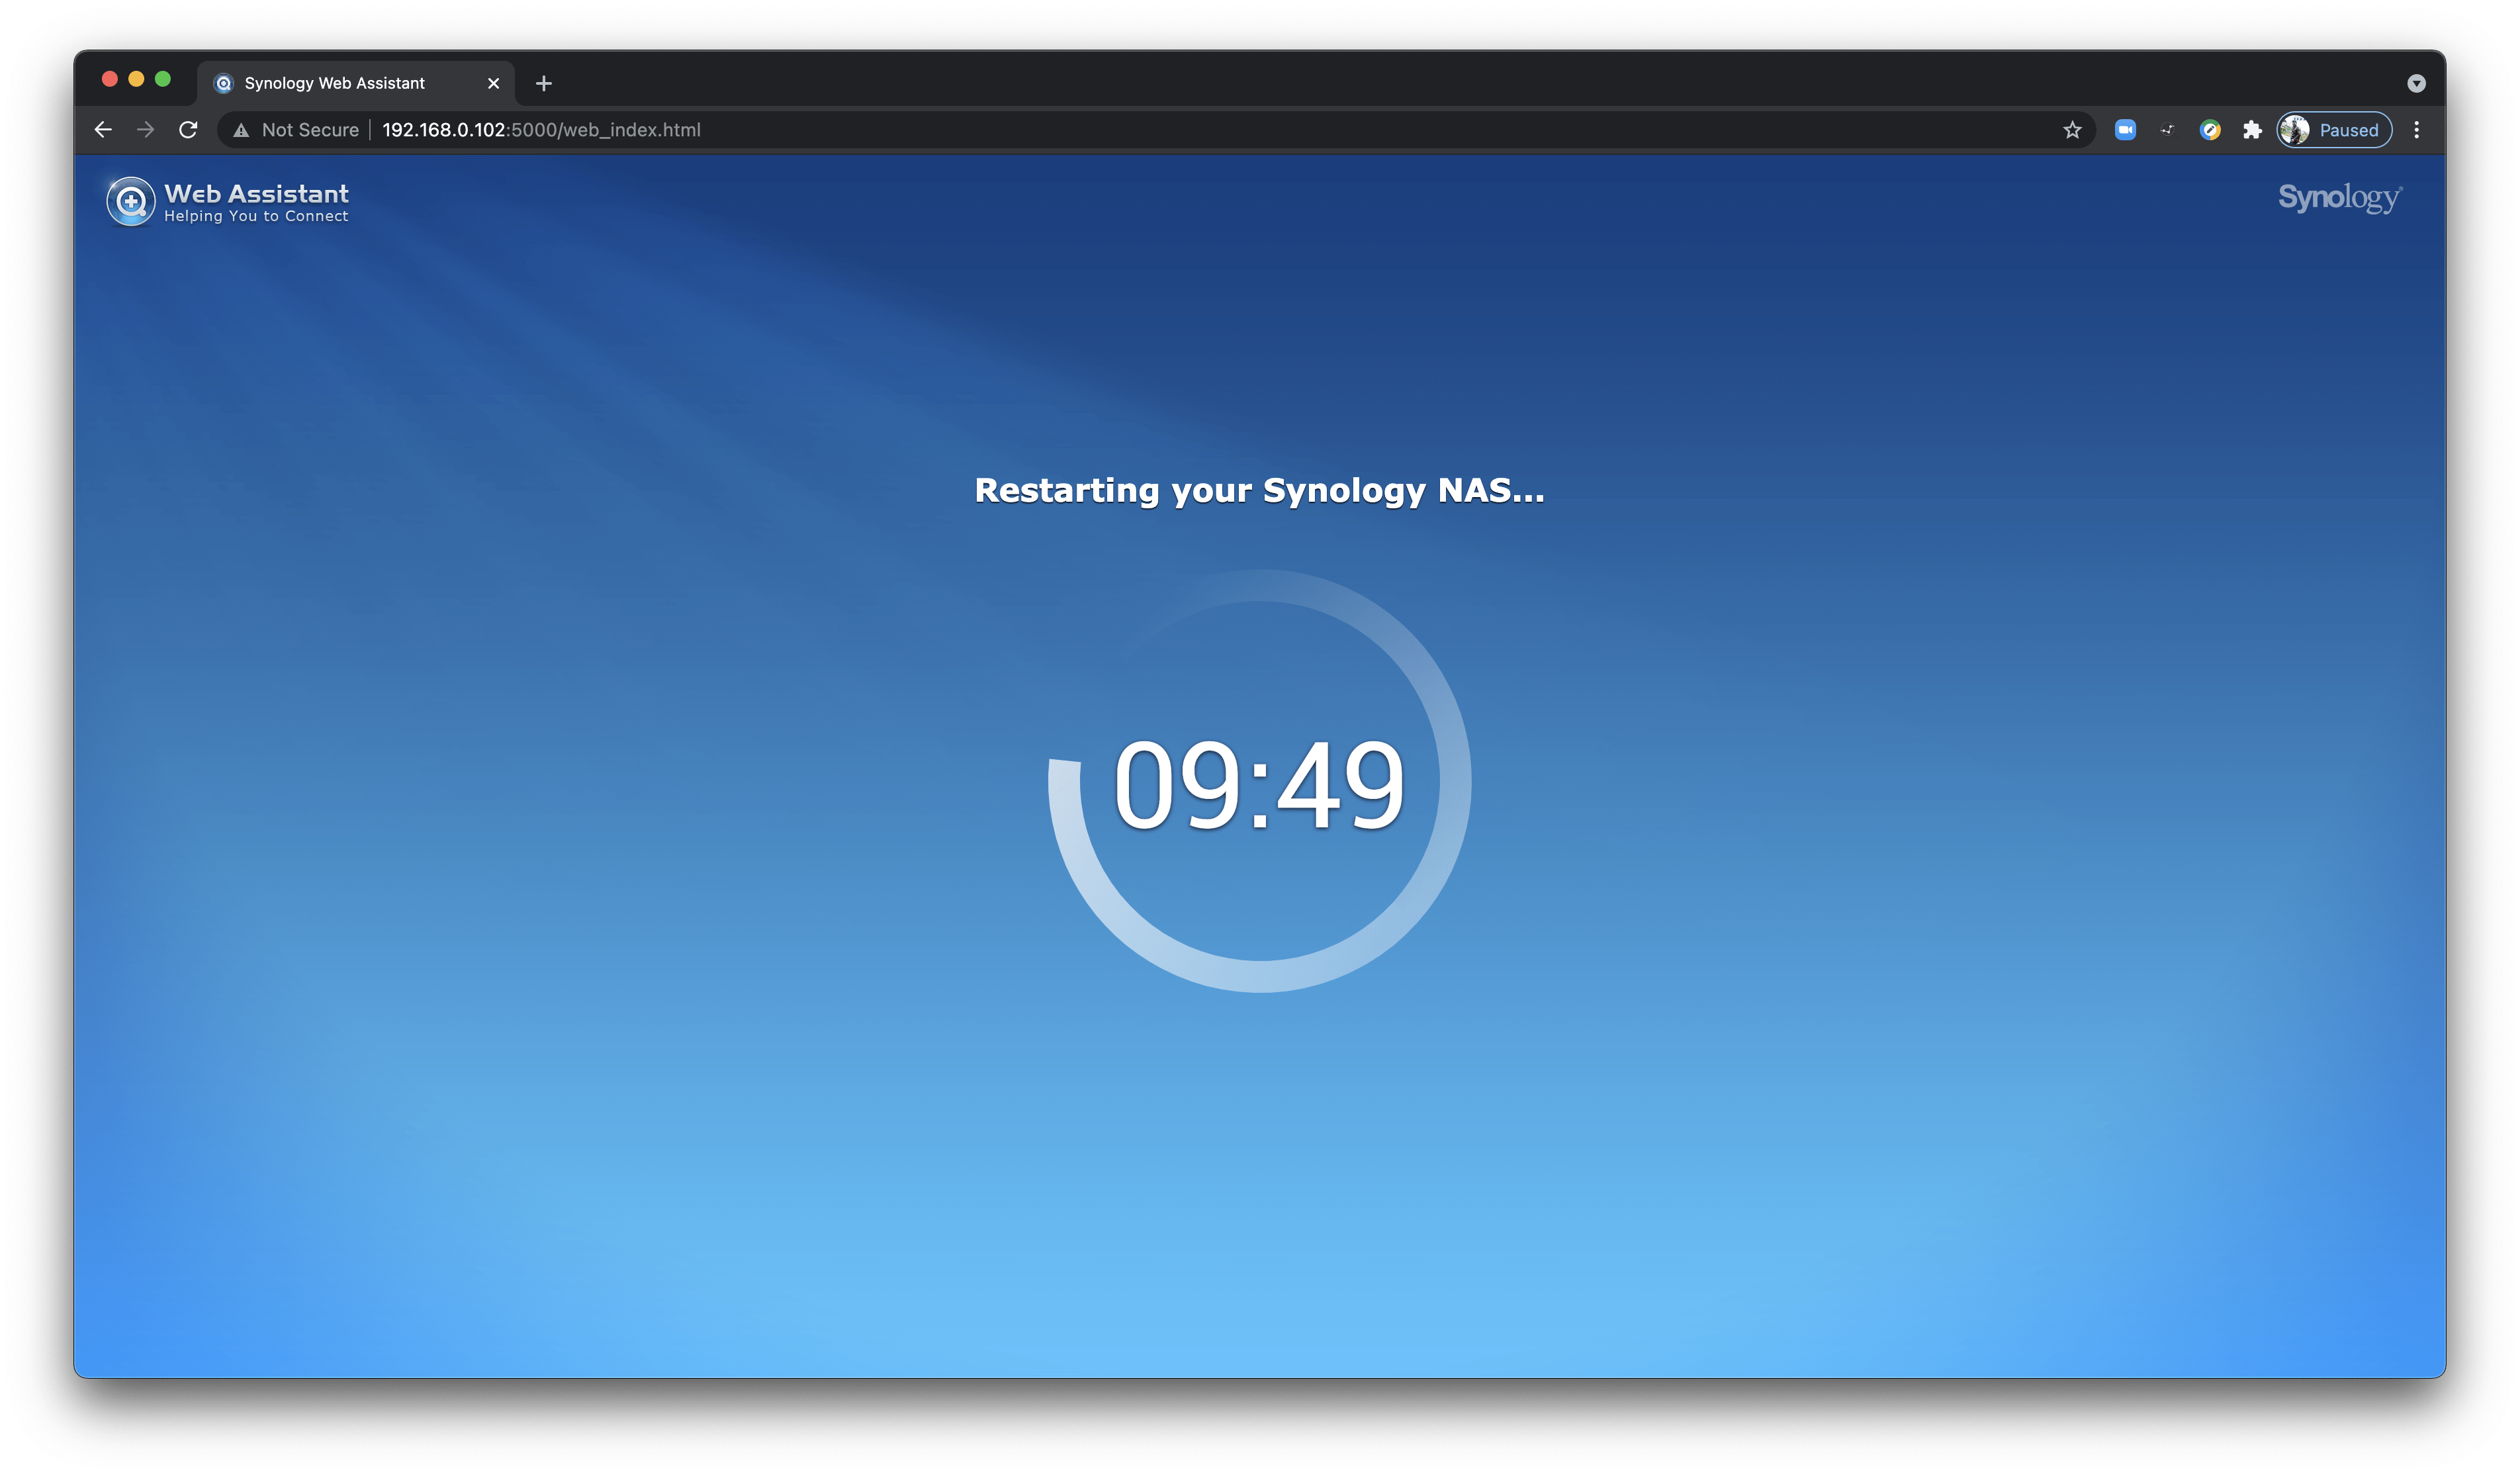
As a part of installation, Entire NAS unit gets reconfigured and recreated as shown above
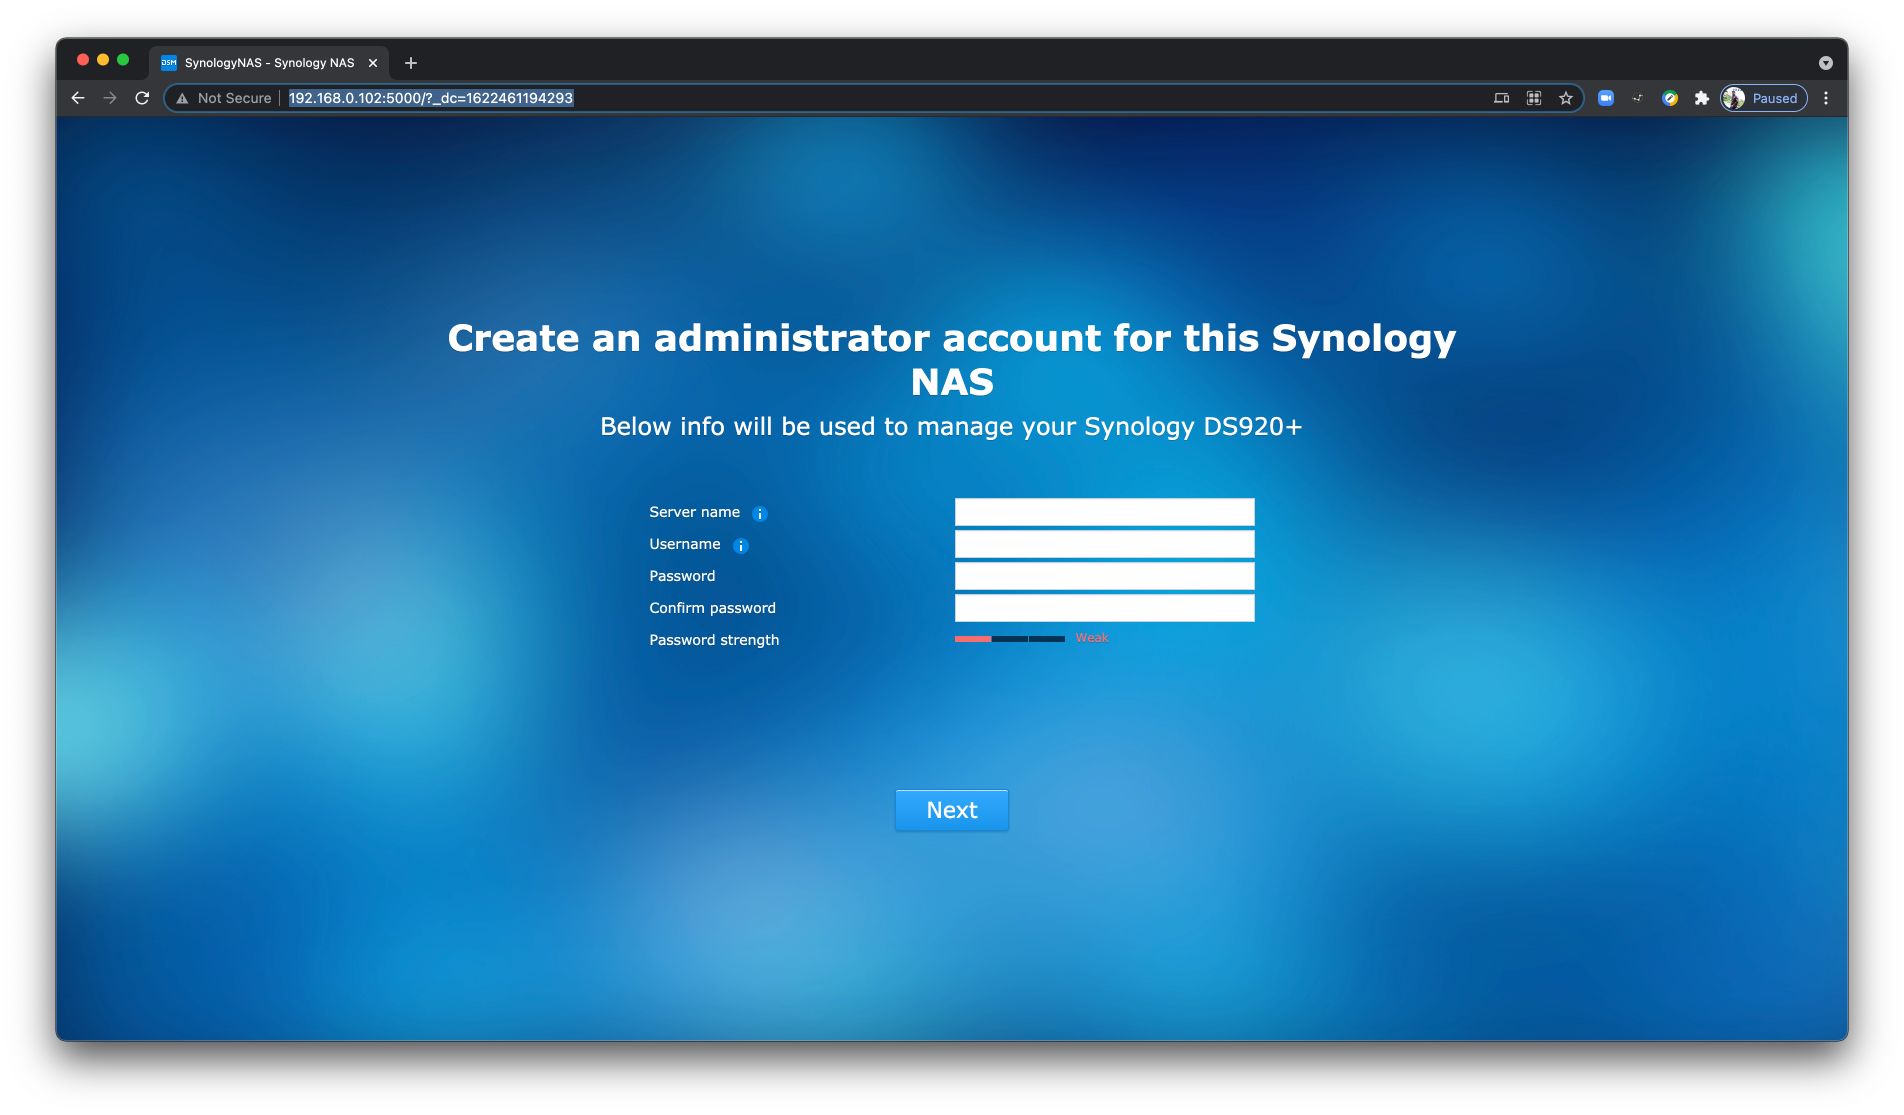
Once the installation gets completed, we would land up in the above mentioned page to create the administrator account to access the synology NAS station. Enter the required details in the Text box and click Next to proceed ahead as a part of NAS Initial configuration.
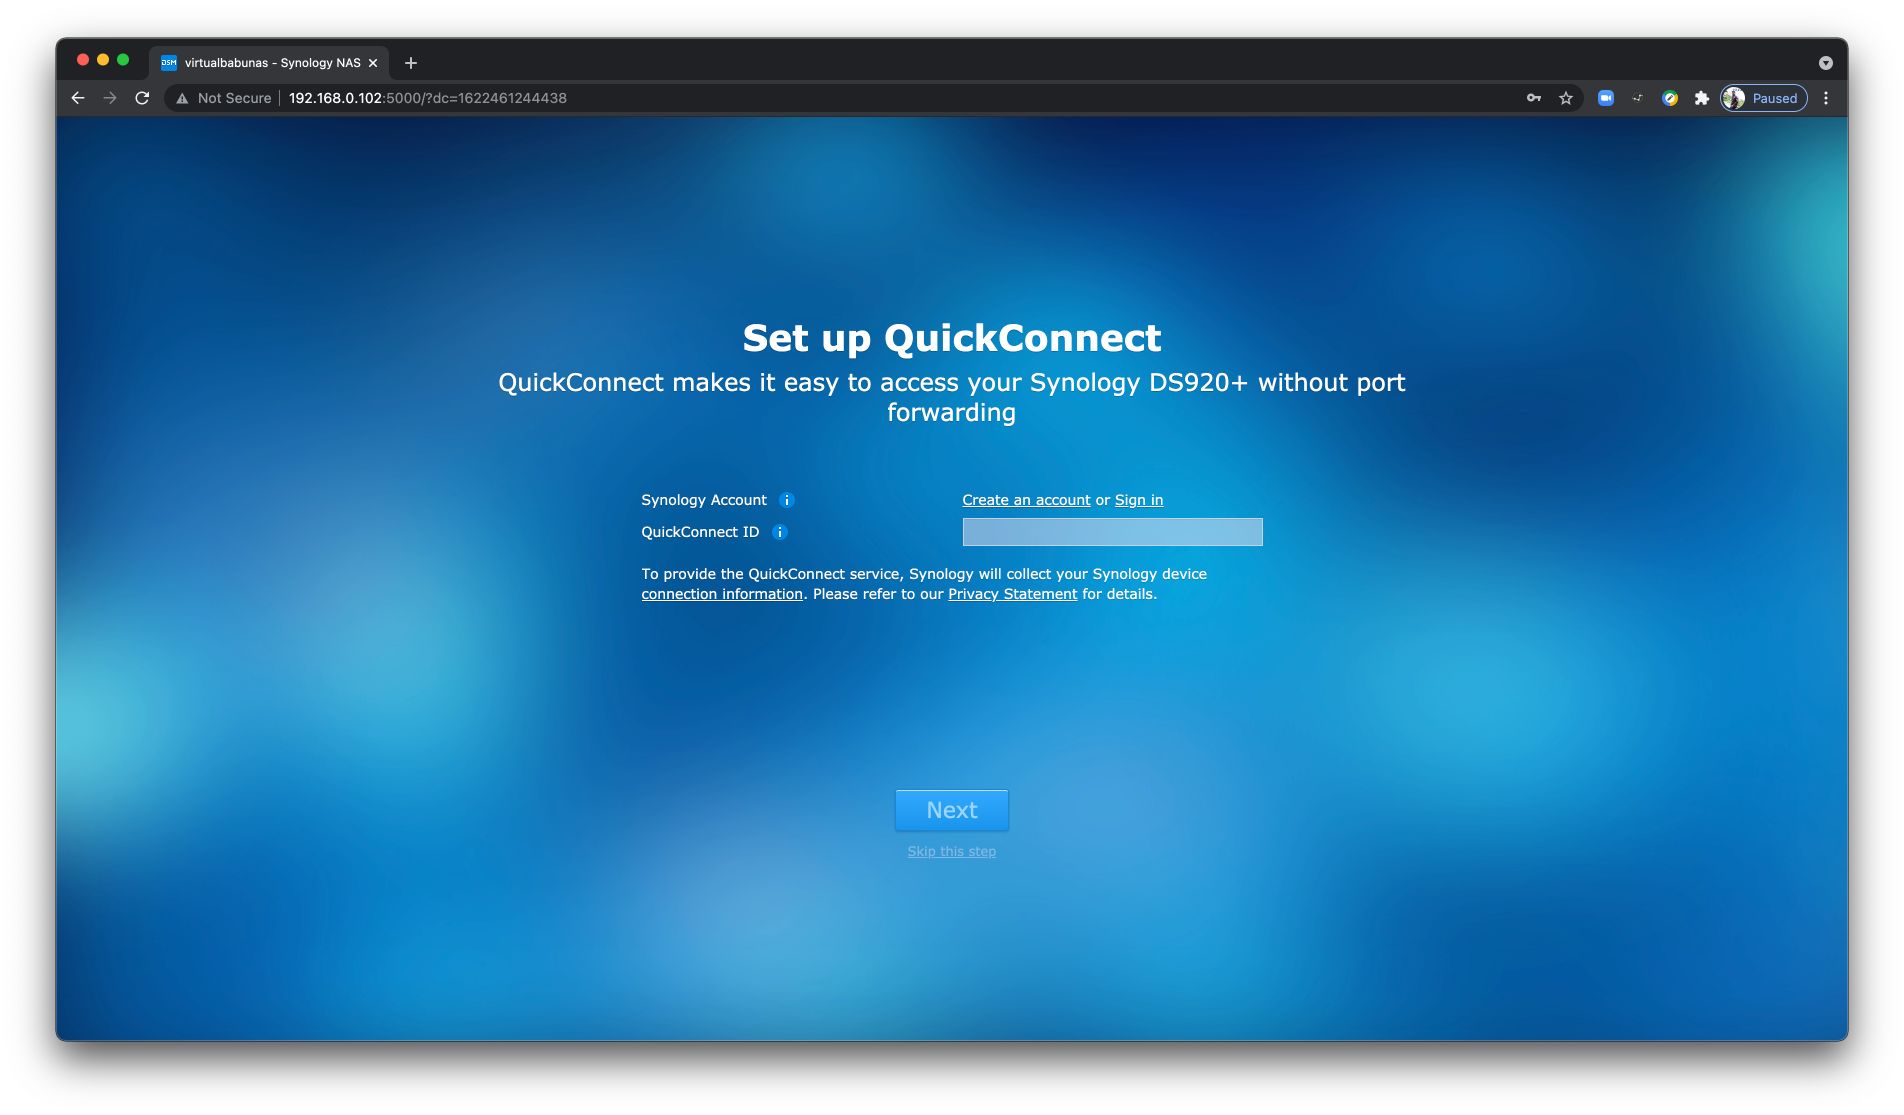
You can sign in to your synology account and enter the quick connect ID to connect the NAS box from the internet, Which gives the possibility to access the NAS box anywhere over the world through Internet
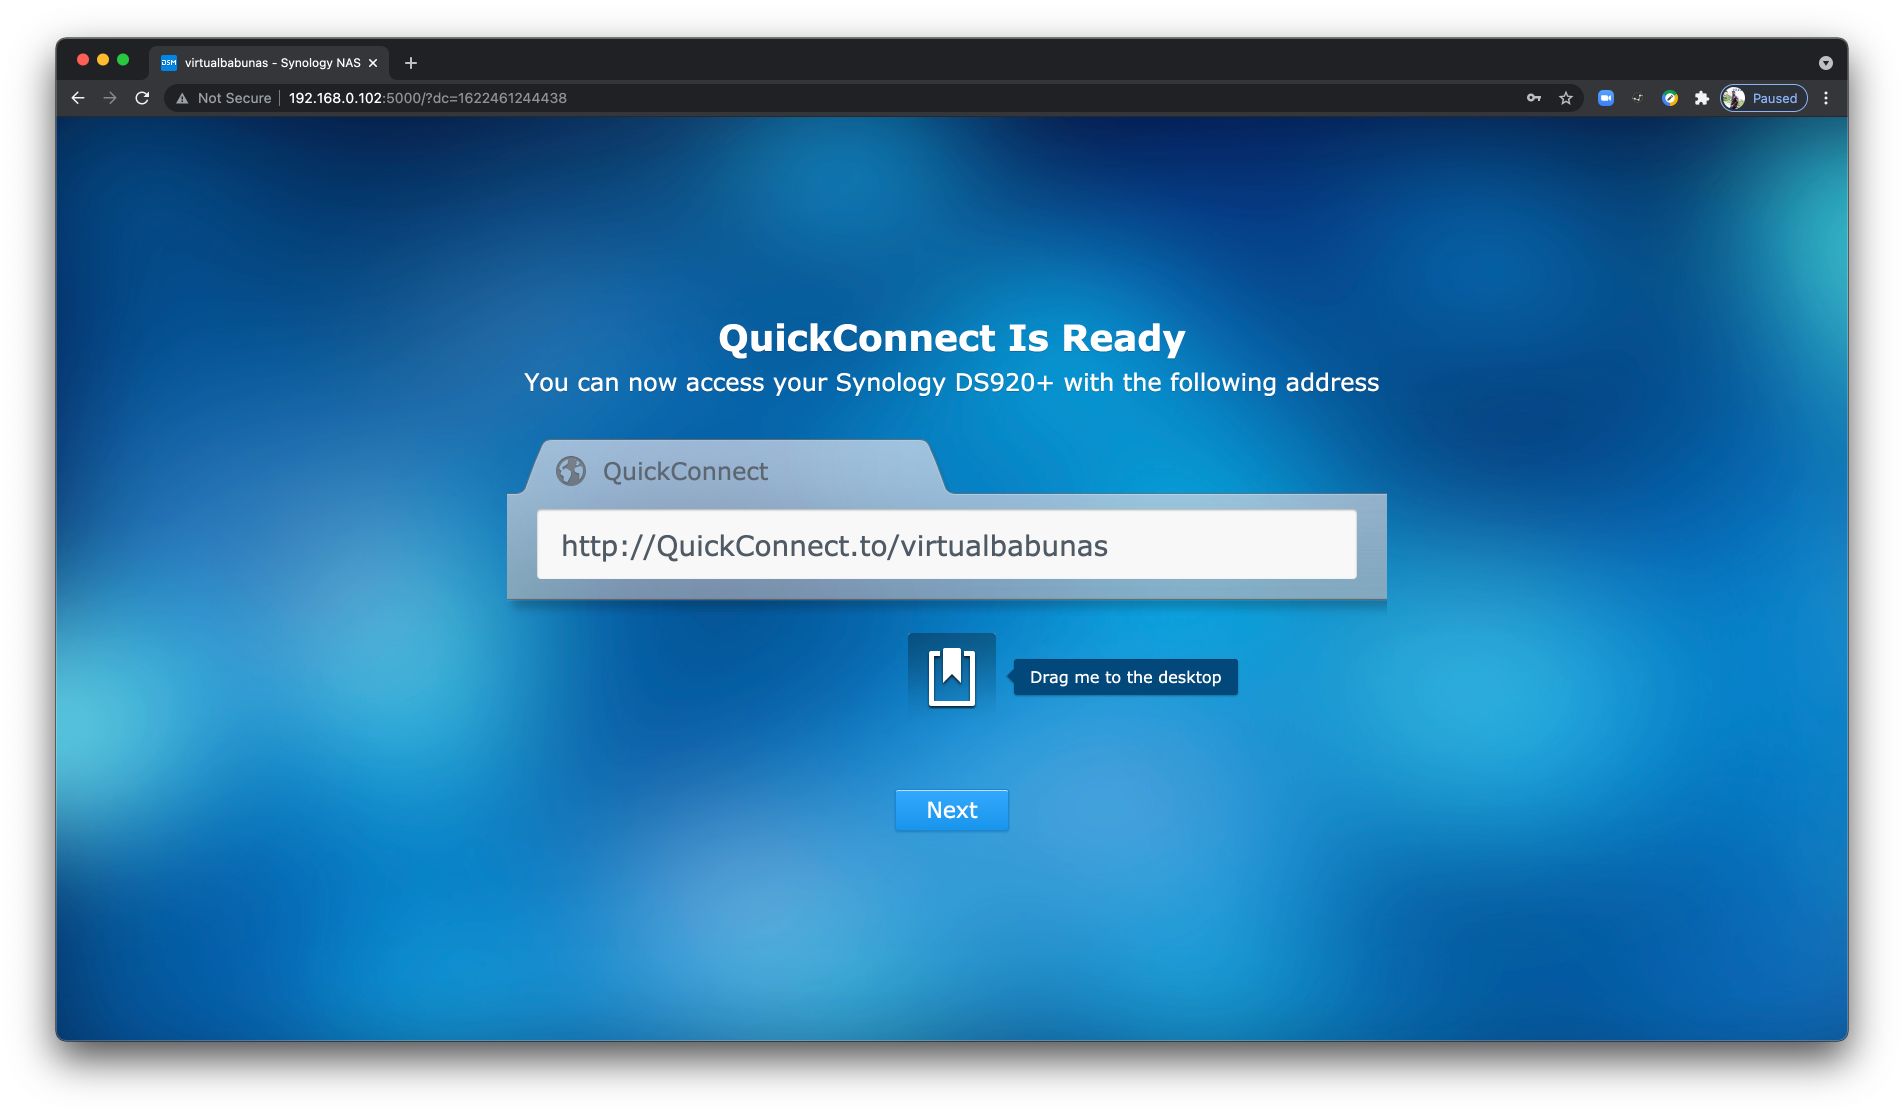
URL will be generated as shown above, we would be able to access the NAS device anywhere over the internet by mentioning the above QuickConnect URL
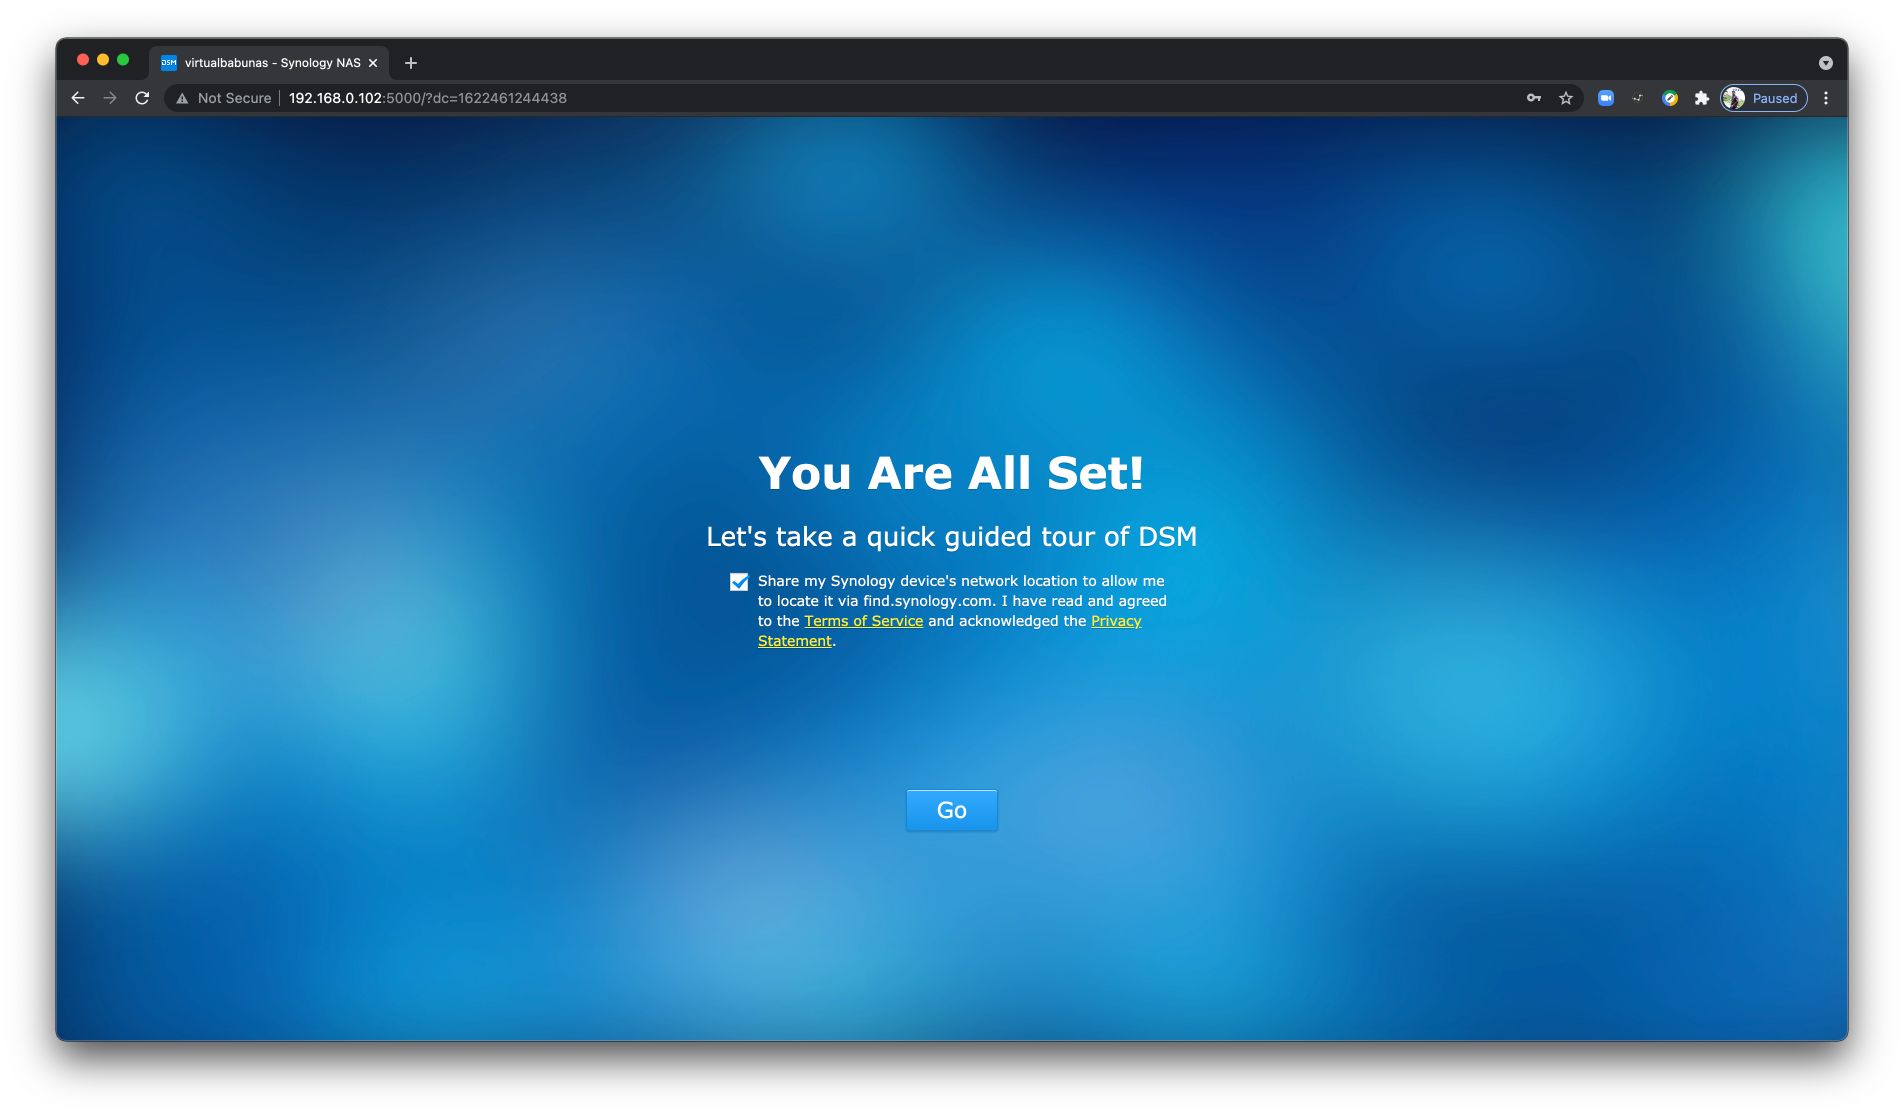
Finally the installation is all set to use the Synology NAS DS920+, Click Go button to get in the OS landing page
We will Continue to Configure the DSM in the Next post : <Link will be updated as soon its published>